Gesichtsmaske – wie wird´s gemacht?!
Face mask – how to?!
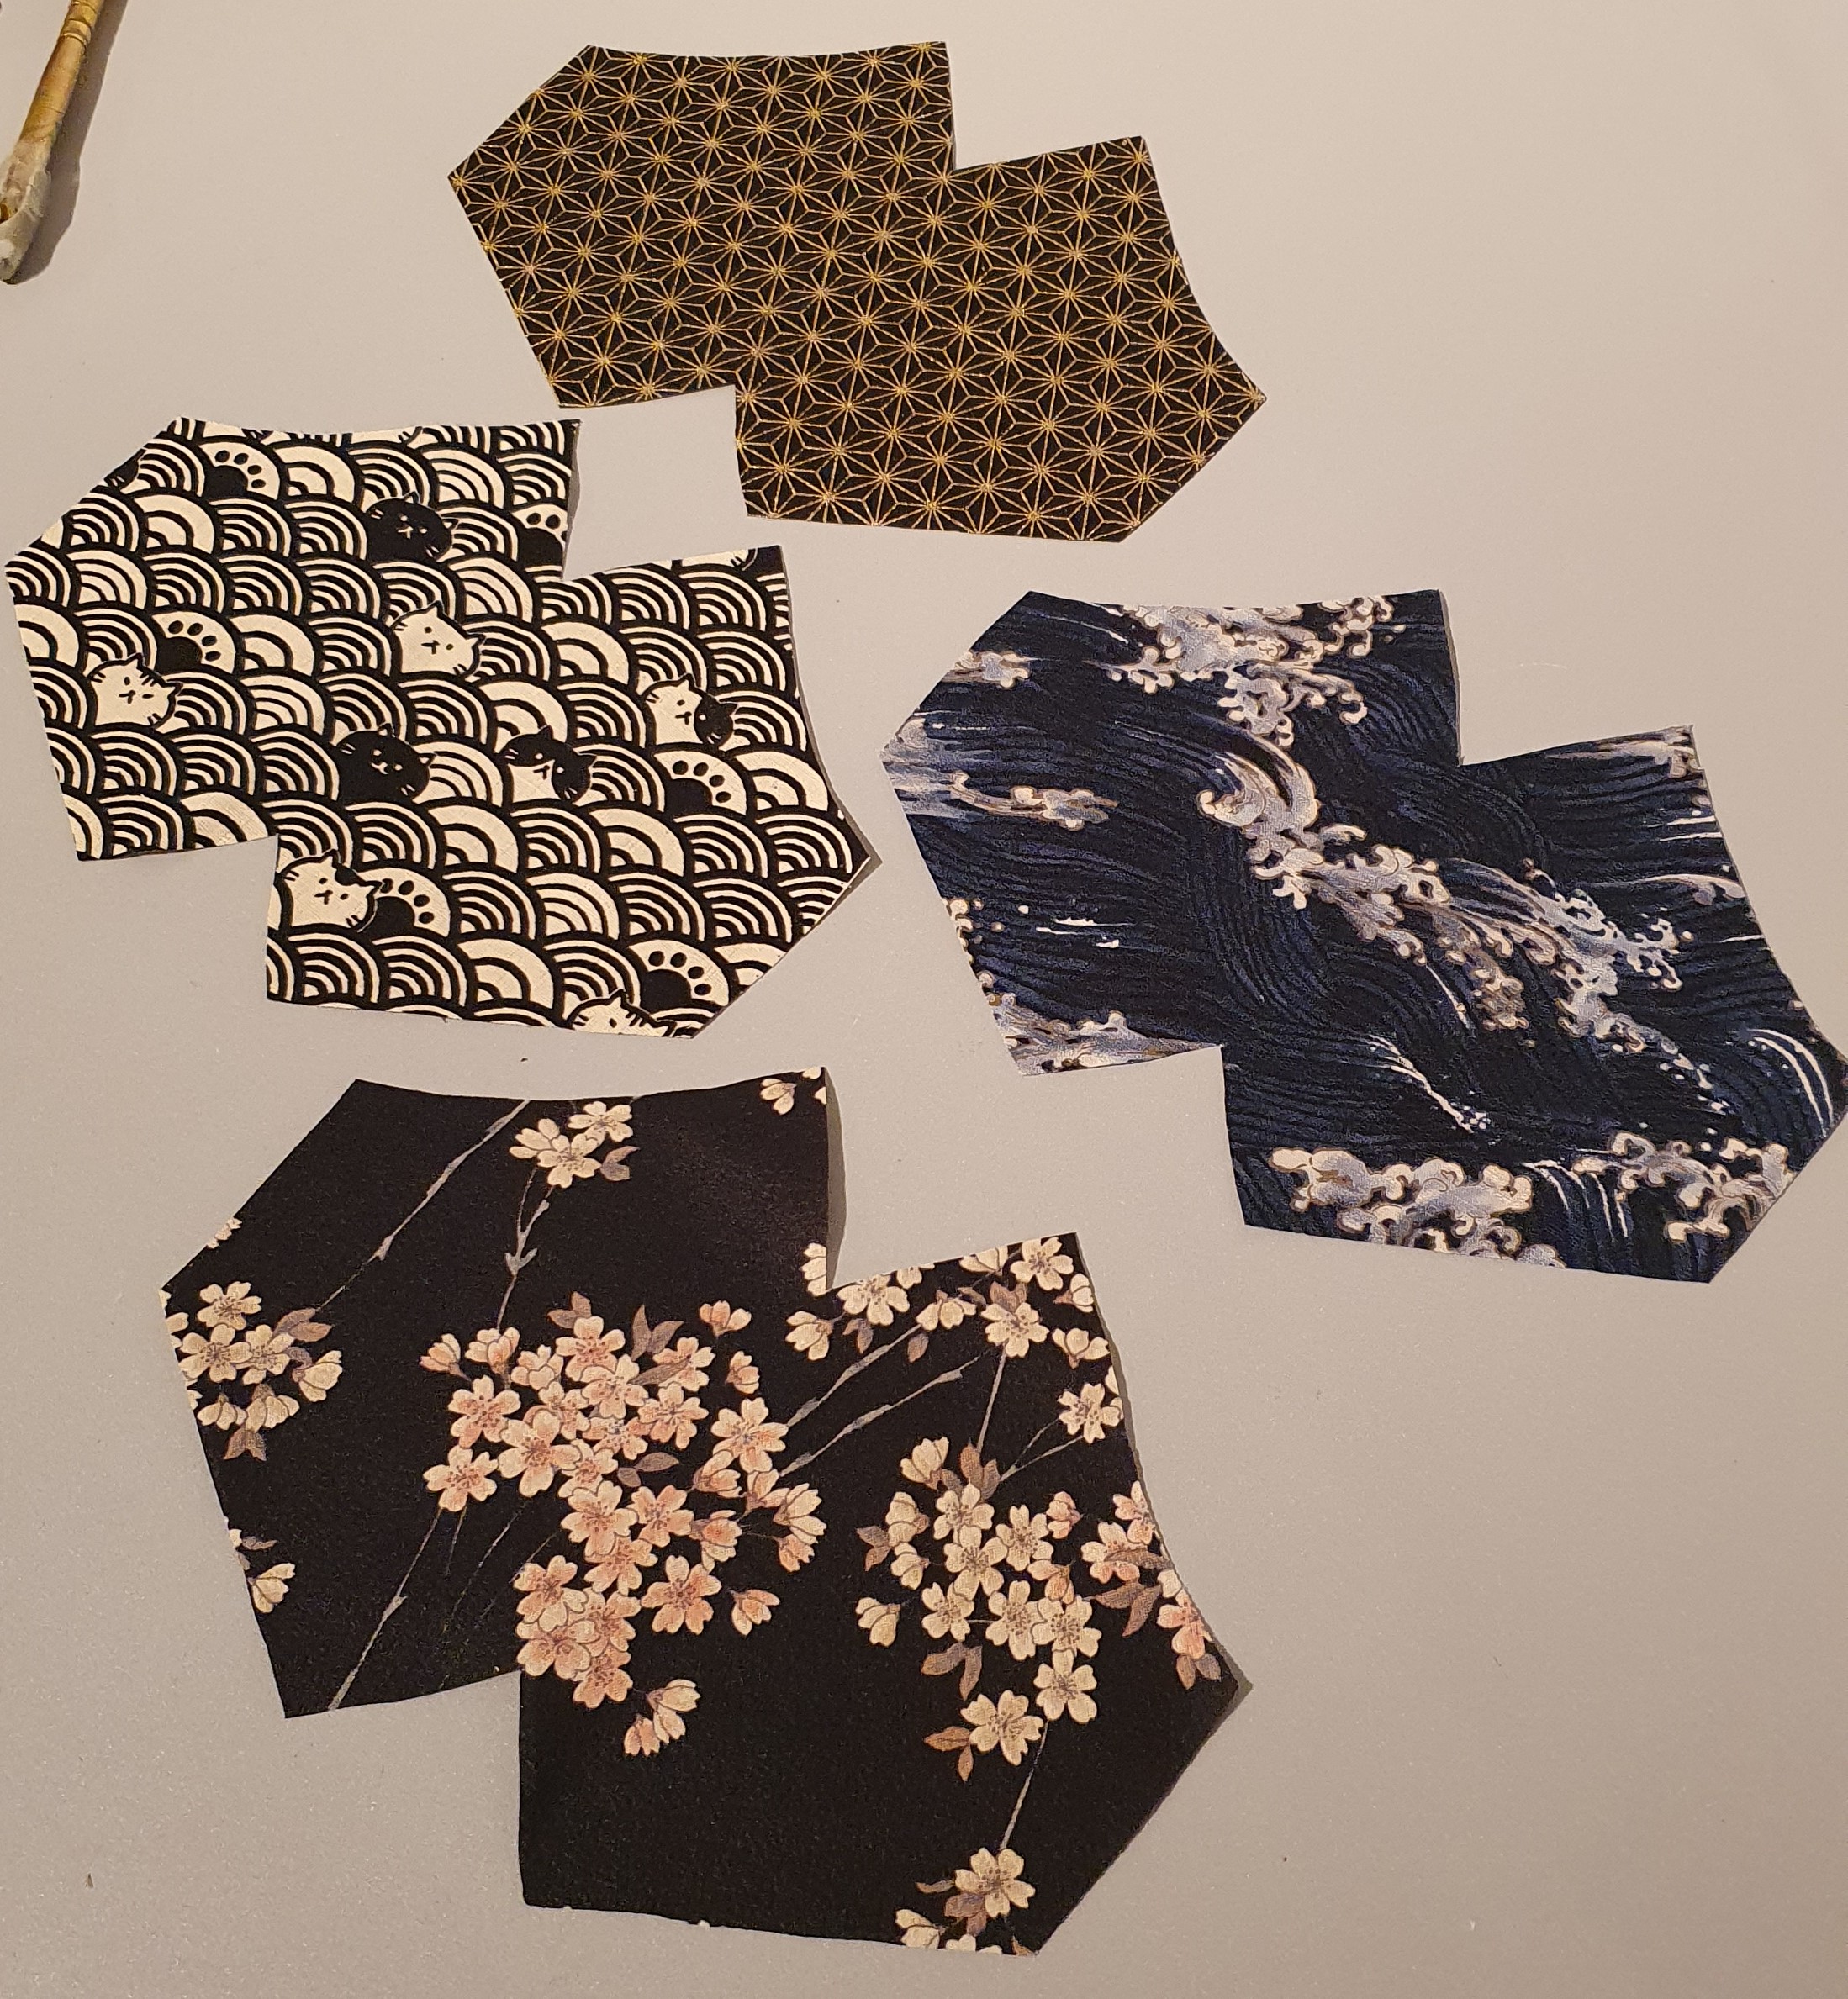
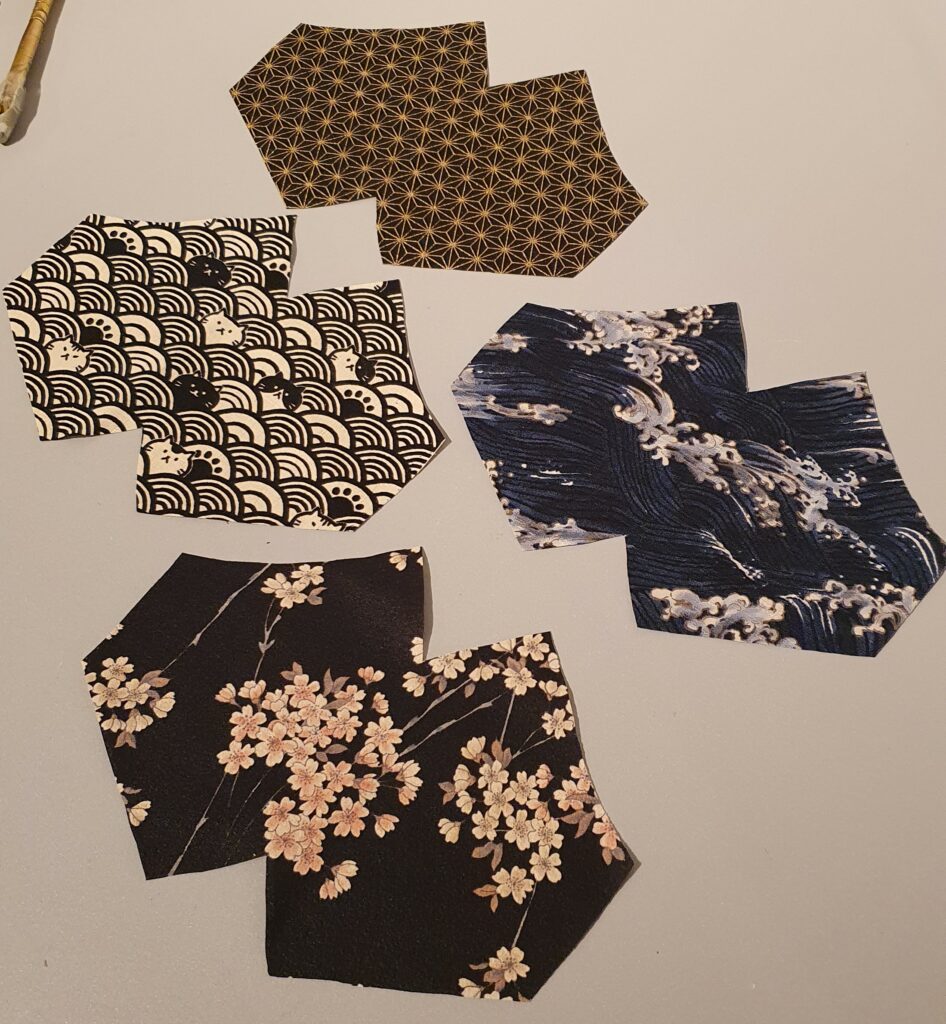
PATTERN

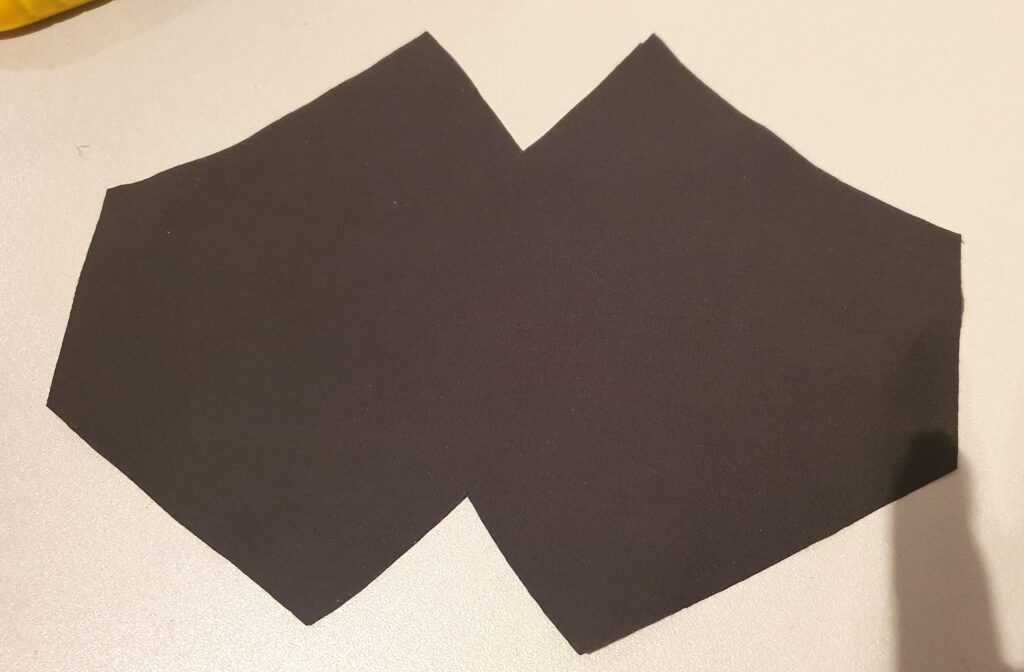
Zuschnitt: 1x Oberstoff (außen) z.B. gemustert, mit Motiv,…; 1x Futter (innen), uni oder gemustert.
- Cutting: 1x outer fabric (e.g. with patterns); 1x lining (uni or also with pattern)
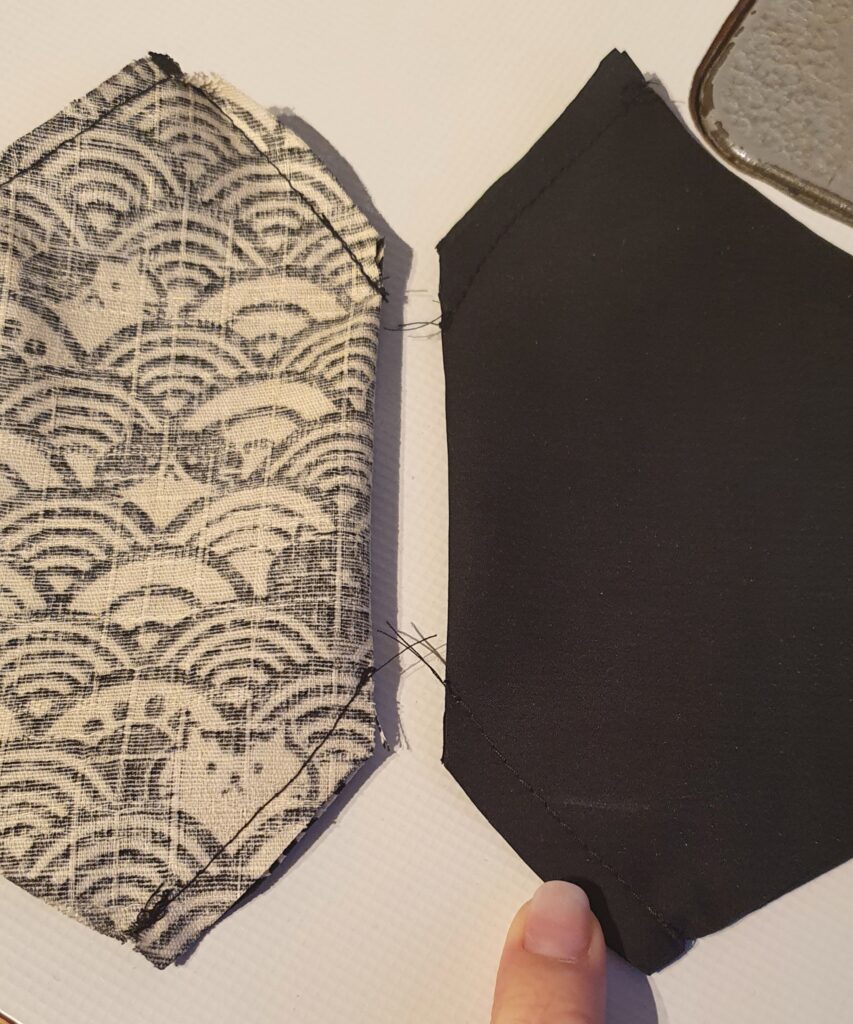
2. Oberen und unteren Abnäher zunähen, sowohl für Außenmaterial und Futter (langer Abnäher = oben), Ecke einschneiden, Nahtzugabe auseinander bügeln. Motiv,…; 1x Futter (innen), uni oder gemustert.
2. Close top and bottom dart, for the outer fabric and the lining (long dart = top), cut the edges and iron the seam allowance to the sides.

3. Paspel für obere Kante vorbügeln – Maße: 2cm x ca. 32cm inkl. NZG = fertige gebügelte Breite 1cm, Länge nicht zu knapp beschneiden, die Paspel-Enden schlagen sich mit nach innen ein später.
3. Prepare the piping of the top edge – measurements: 2cm x app. 32cm inkl. SA = finished width of 1cm, don´t cut the ends too short, they will flip inside later.
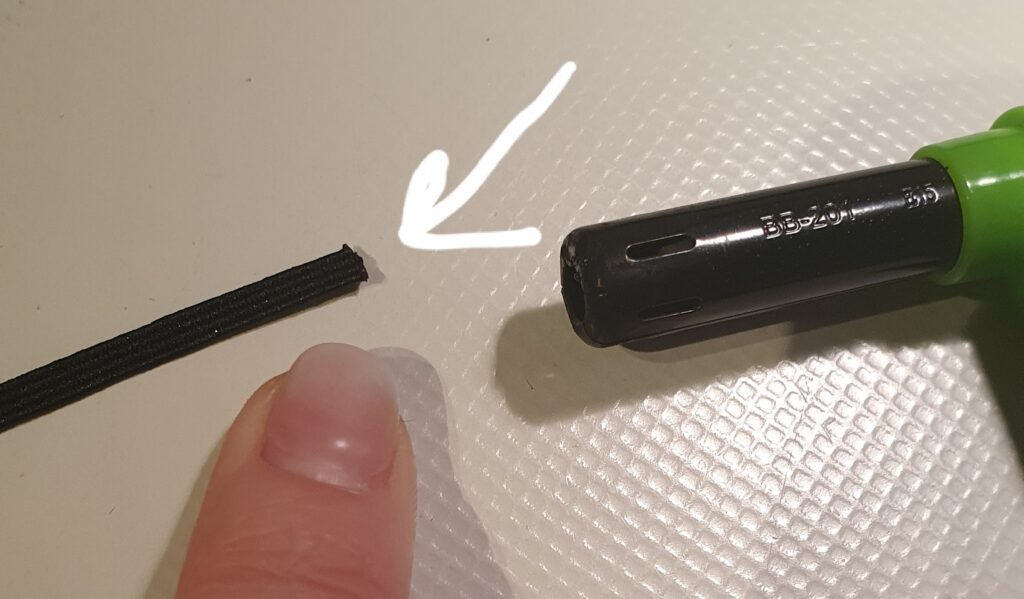
4. Gummis vorschneiden – 2x ca. 20cm inkl. 0,5cm NZG je Seite (individuell je nach Kopfgröße), Enden kurz mit einem Feuerzeug abflämmen um aufribbeln zu vermeiden.
4. Pre-cut the elastic tapes – 2x app. 20cm incl. 0,5cm SA at each side (depends on head size), heat the ends of the elastic tapes with a lighter to avoid that the ends open up later.
5. Paspel mit Umbruchkante (schöne geschlossene Kante) auf die rechte Warenseite nach innen gerichtet legen und bei 0,5cm von der Schnittkante heften.
5. Lay the piping with the closed edge on the outside of the fabric the the edge piping to the inside. Tack it in 0,5cm distance to the cutting edges.
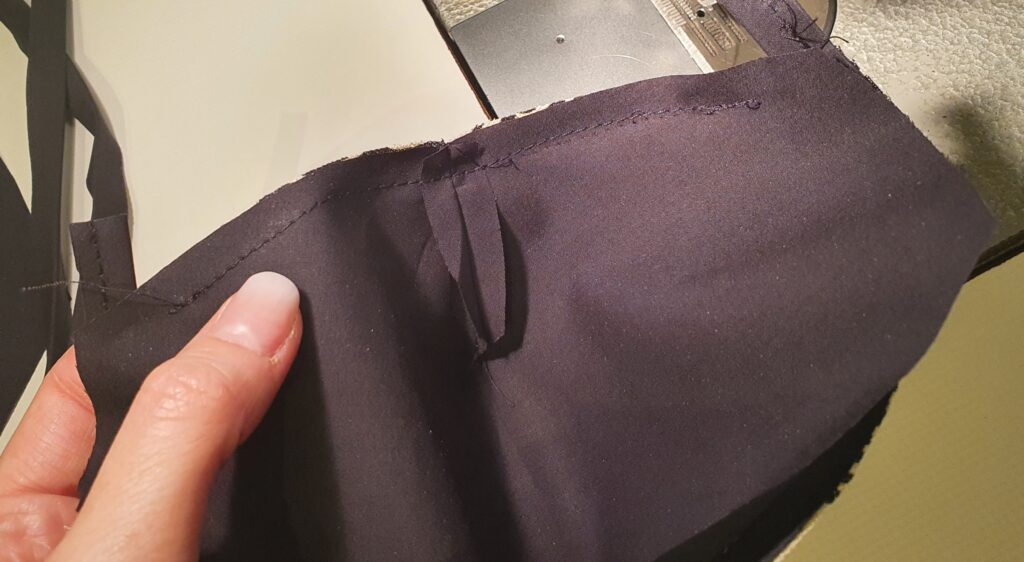
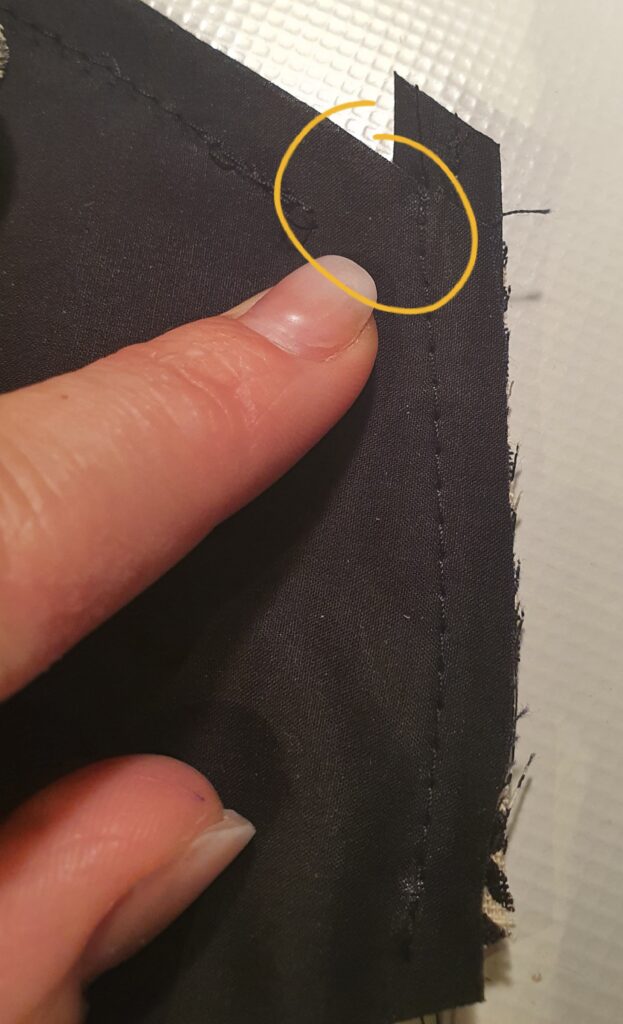
6. Untere Kante der Maske verstürzen (Obermaterial + Futter miteinander) und knapp absteppen -> Rechts und links 2cm vor der Schnittkante eine ca. 1cm Breite Öffnung lassen, das werden später die „Löcher“ zum Einfädeln der Gummis. Seitennähte verstürzen (nicht knapp absteppen!), beim Zusammennähen darauf achten, dass der Paspel ca. 2mm sichtbar ist von außen.
6. Turn over the bottom edge of the mask (outer fabric & lining) and sew a stitching line tight to the turn over edge fromt he outer side. Leave an app. 2cm gap at the right and left ends, they´re the hole where we´ll add the elastic strings later. Turn over the sideseams (no stitching line fron the outside!), take care that the piping is app, 2mm visible from the outside.
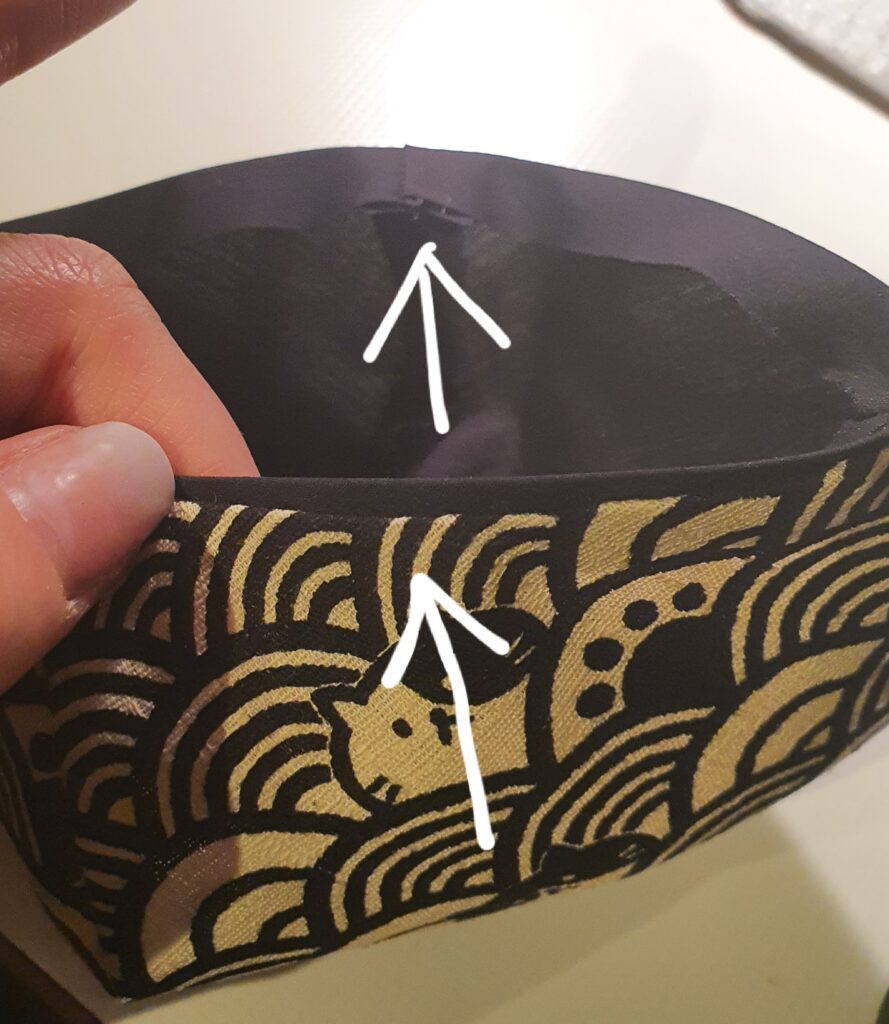
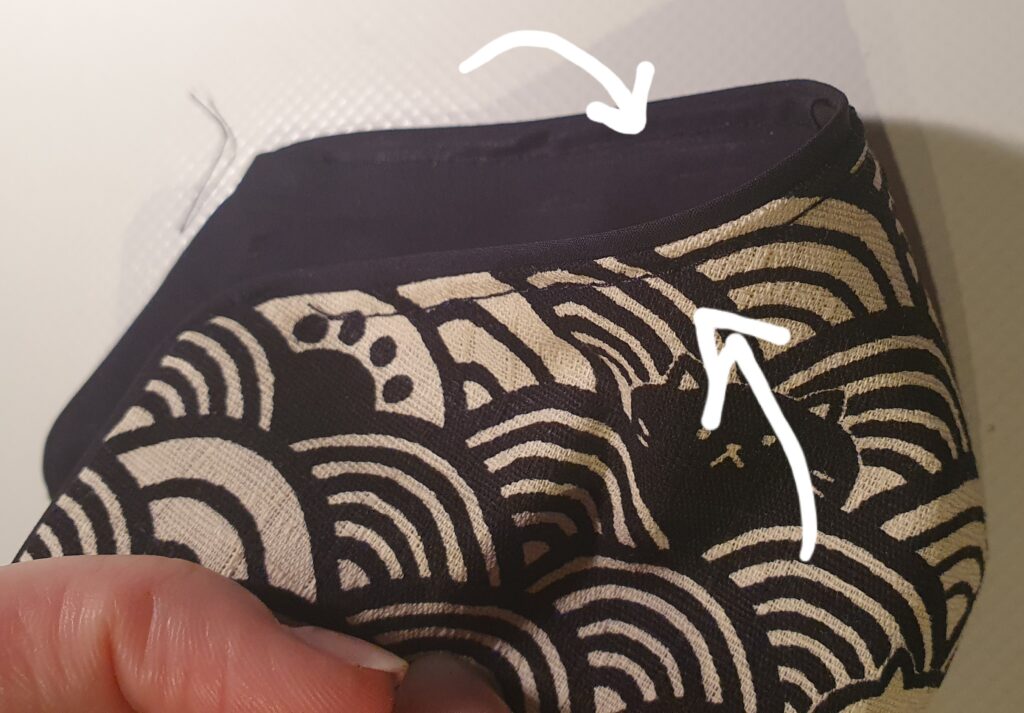
7. Obere Kante mit Paspel schön vorbügeln, so dass der Paspel ca. 2mm sichtbar ist, obere Nahtzugabe des Futter einschlagen und bügeln.
7. Pre-iron the piping at the top edge nicely, so the piping is app. 2mm visible at the upper edge. Turn in and iron the seam allowance of the lining too.
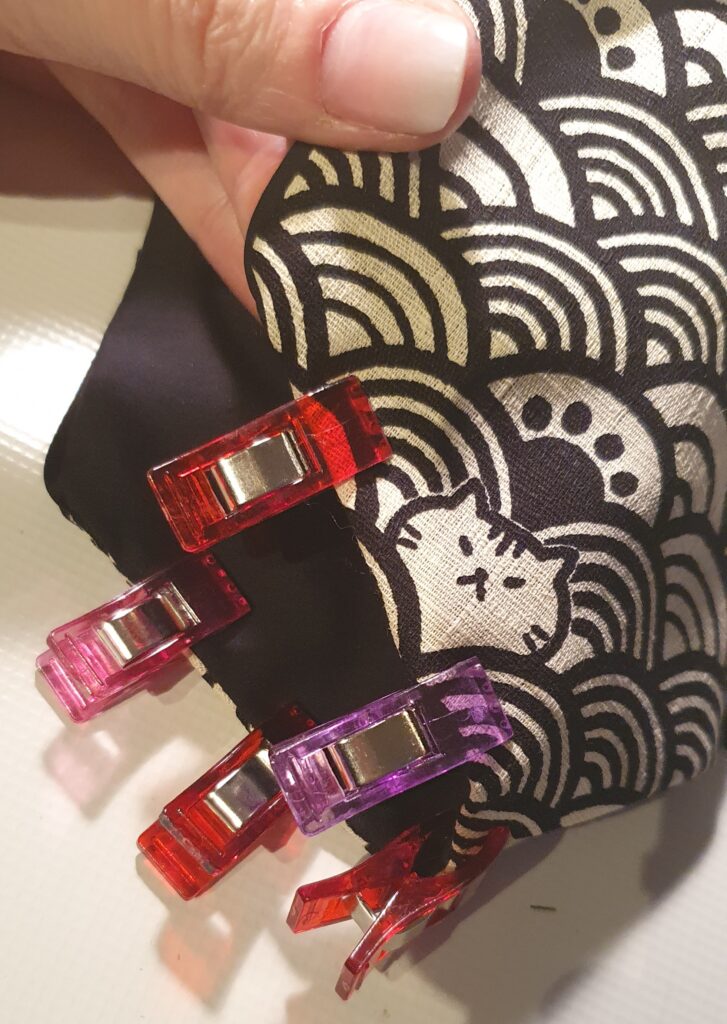
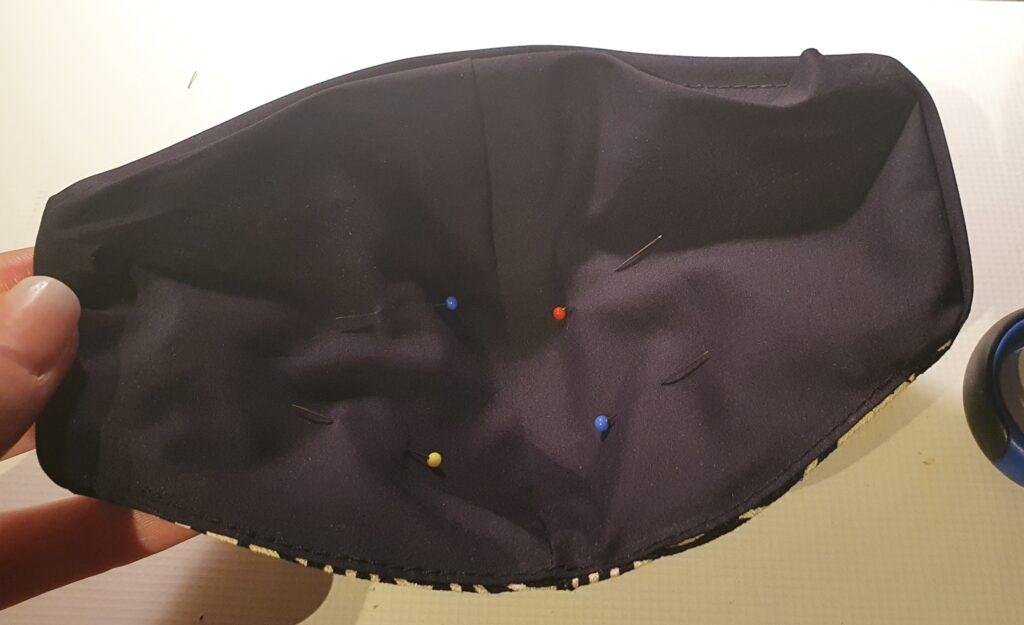
8. Am besten beide Stoffe mit Stecknadeln innen etwas fixieren, damit nichts verrutschen kann, alternativ kann man die nun gebügelten Kanten mit Stecknadeln zusammenstecken oder mit Klammern zusammenhalten.
8. Add pins or clips to attach both layers to each other to avoid them slipping away.
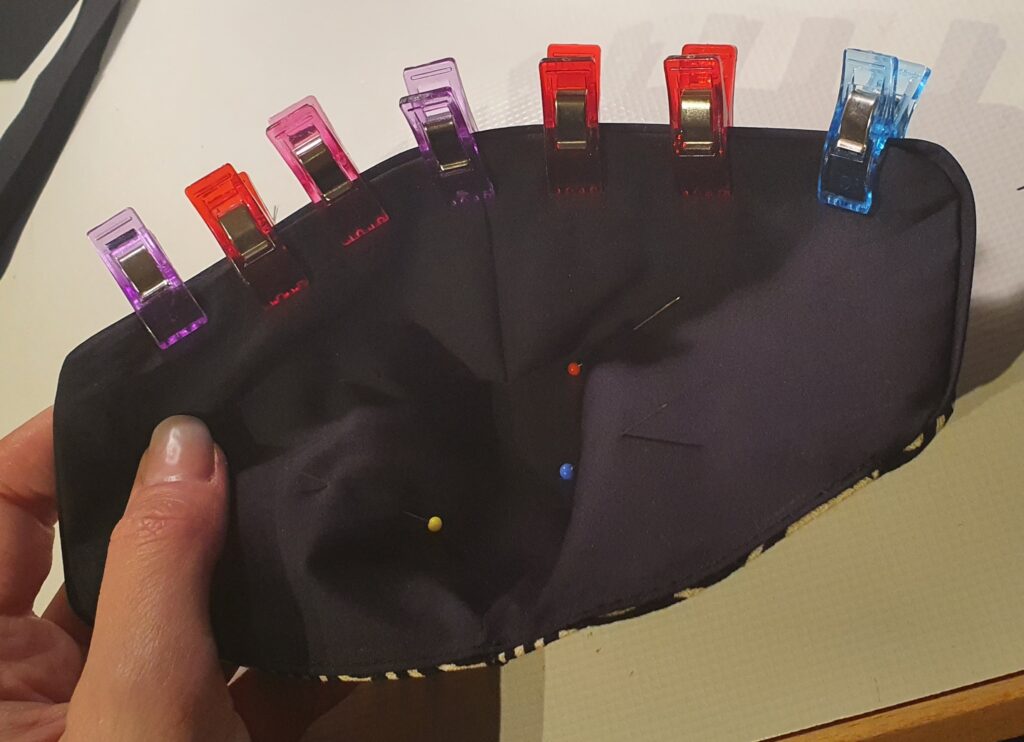
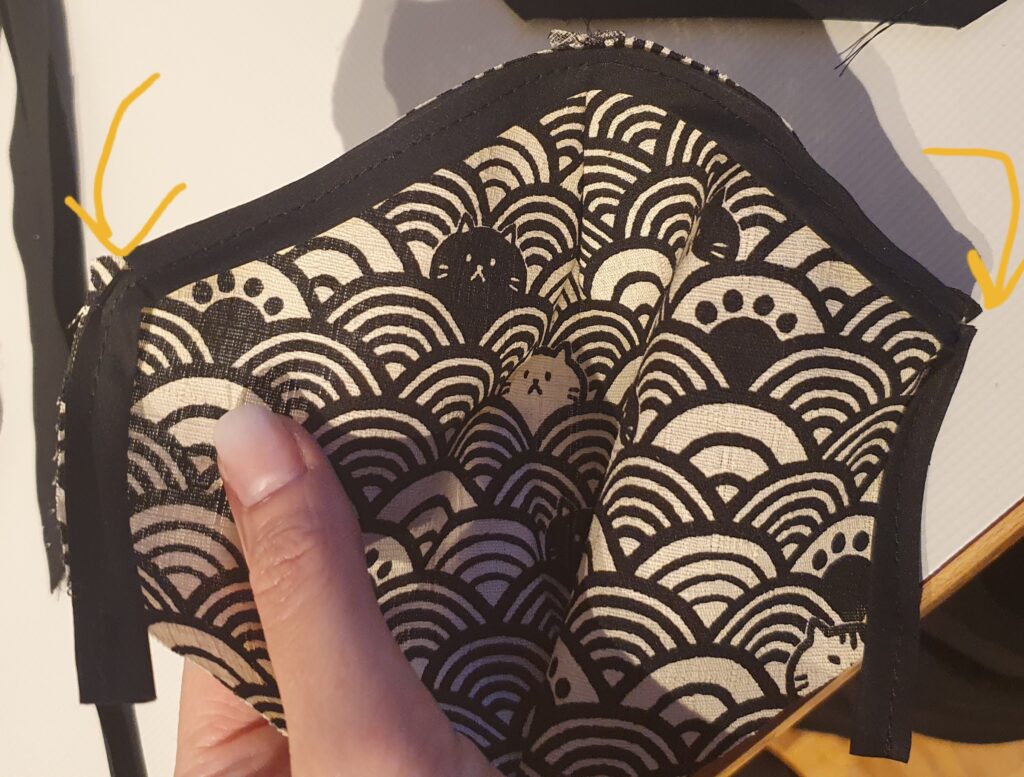
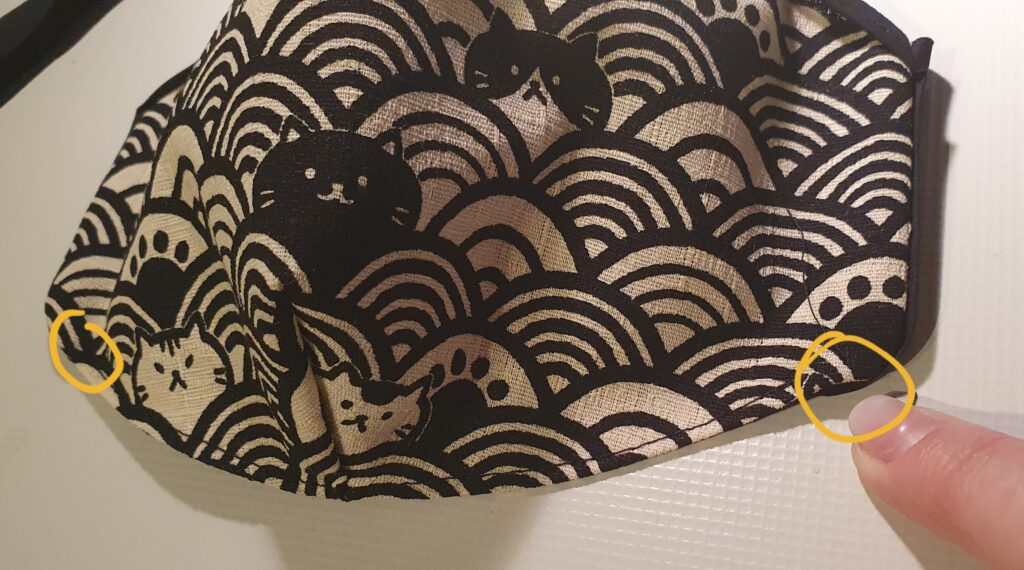
9. Obere Kante von außen knapp absteppen (Seitenteile bleiben ungesteppt) und nur bis 1cm vor Ende jeder Seite steppen -> wir brauchen auch hier eine Öffnung für die Gummis
9. Sew a stitching line close to the upper edge from the outside (sideseams without stitching line!), stop the stitching in a 1cm diatance from the ends -> we need the gaps for the elastic straps.
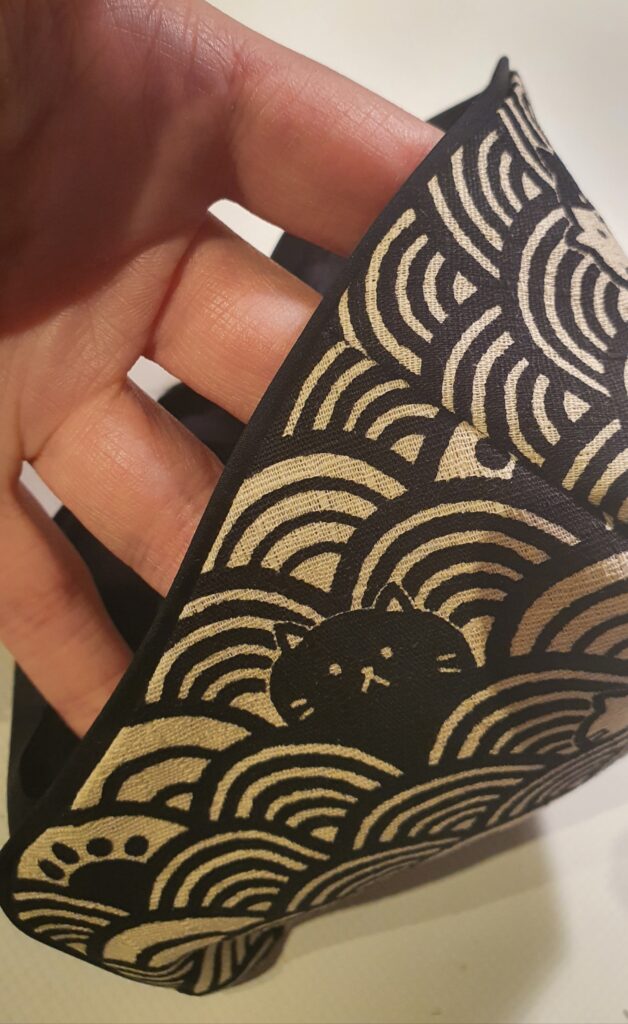
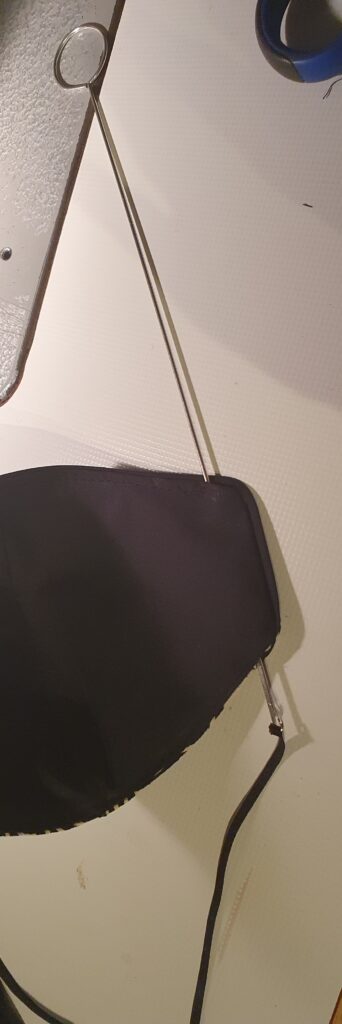
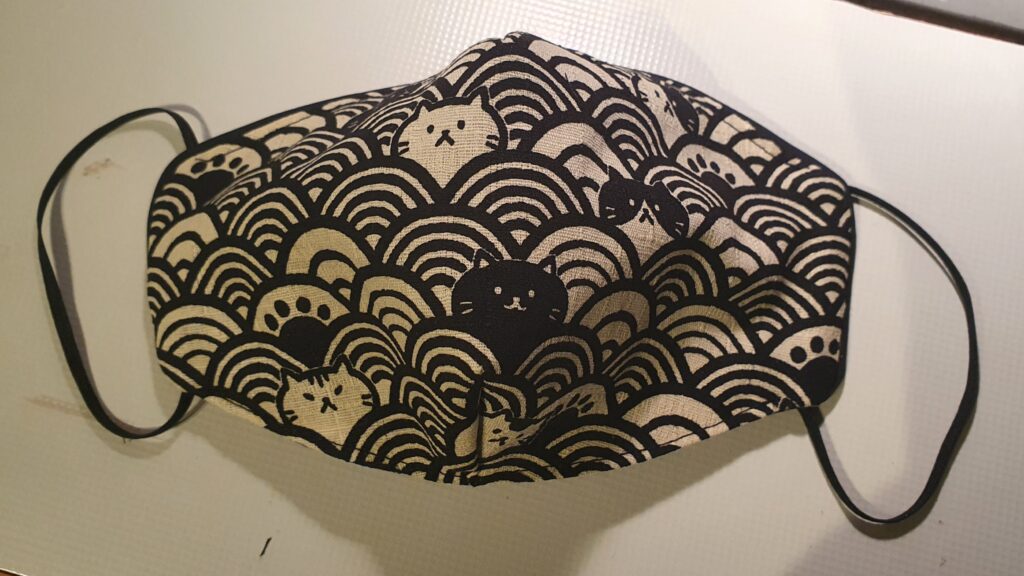
10. Die Maske ist fast fertig, es müssen nur noch die Gummis eingezogen und mit 0,5cm NZG zusammengesteppt werden (ggf. Knoten) und diese nach innen in die Maske gezogen werden
10. The mask is almost finished, we only need to pull the elastic straps through the holes at the sides and sew their ends together with 0,5cm seam allowance (you can also make a knot at the end). Pull the knots through the holes into the mask.
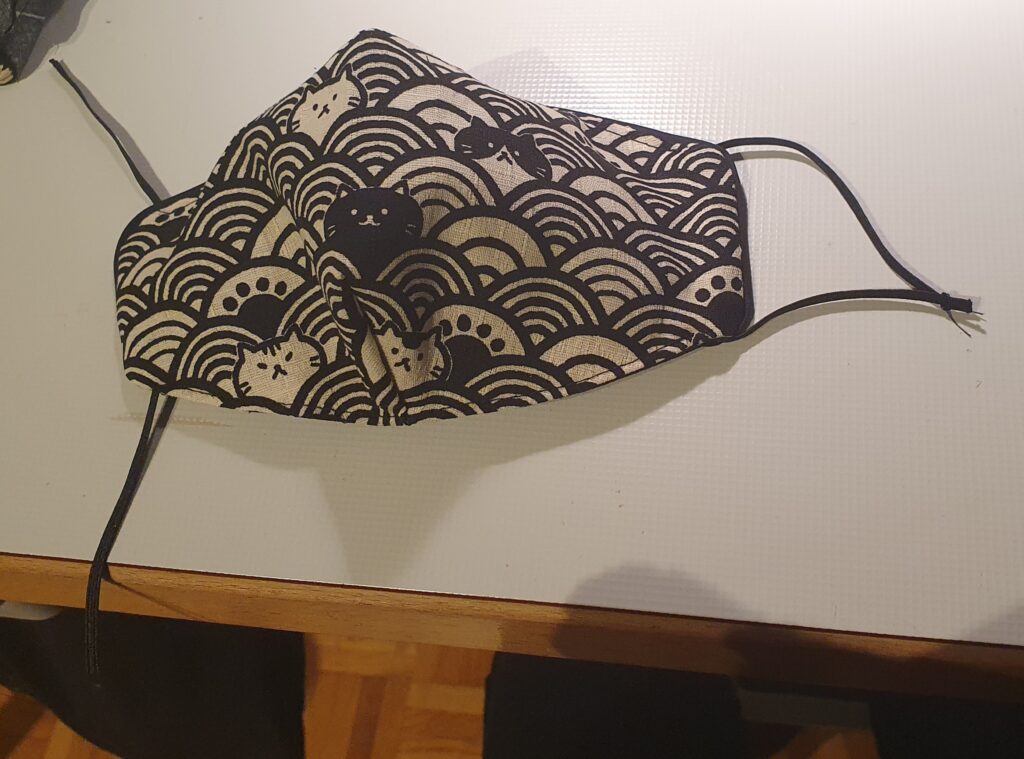
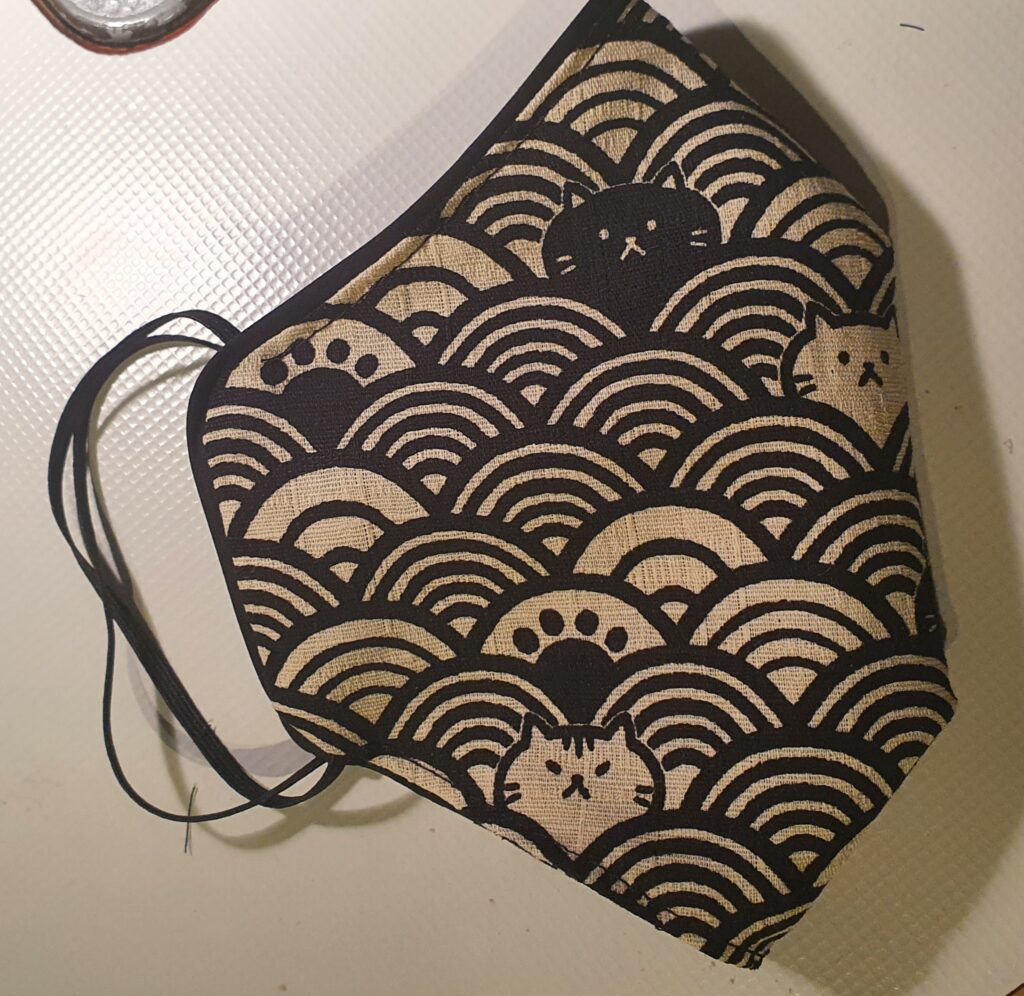
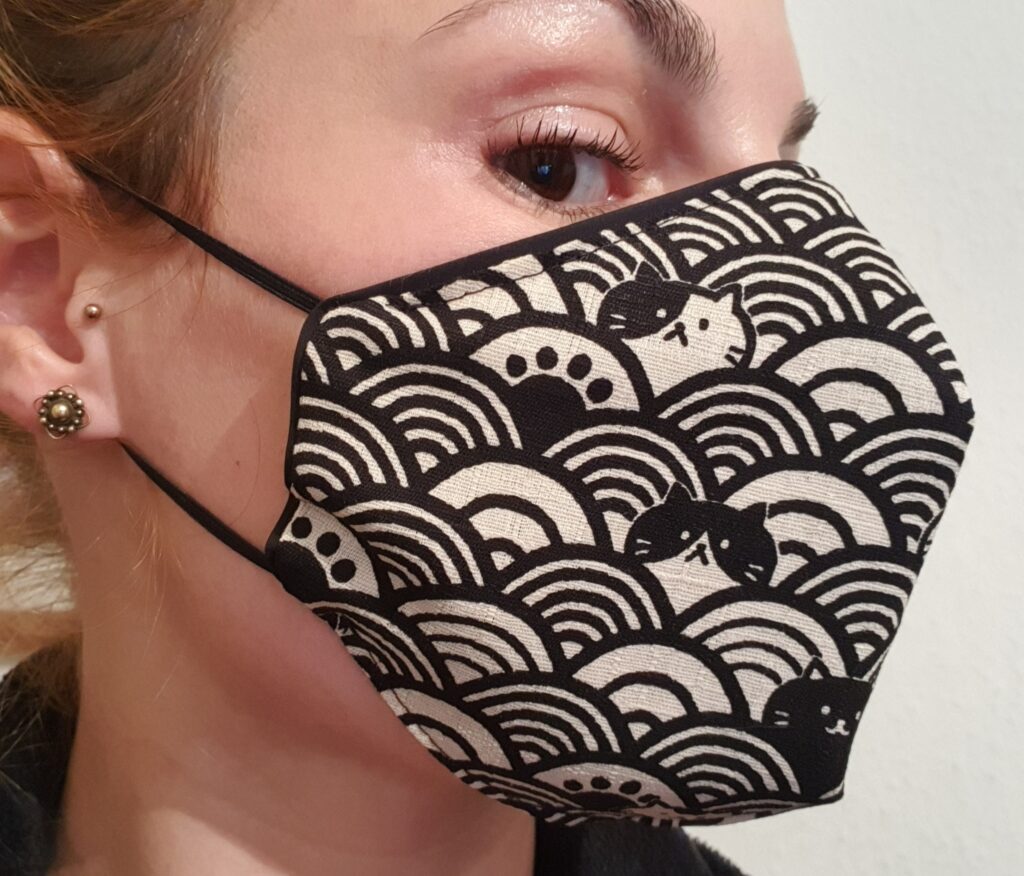
FERTIG!
READY!
No Comments