28 Jun 2017
My first steps with Airbrush
For christmas, I got a small airbrush machine from Ben (he knows what a girl really wants :-D). The last weeks I tested it out a bit, mostly for weathering the fabrics & base paint the armor parts of my actual Red Sonja costume I´m working on.
In the beginning I was a bit quarrel (independently if it´s a gift or not), because I was afraid that it would not work correctly. A lot of people complain of the small and comparatively cheap airbrush beginner sets you can get in the web. I´ve been thinking a bit longer about it and wanted to give it a try.
Now I´m the proud owner of this cute thing from Wiltek and I additionally ordered a second double action airbrush gun with a small pot on the top, because the set has a gun with an adapter for a bigger pot on the bottom.
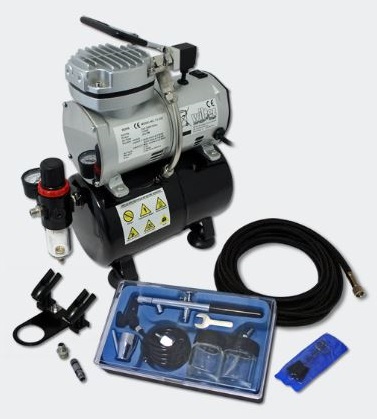

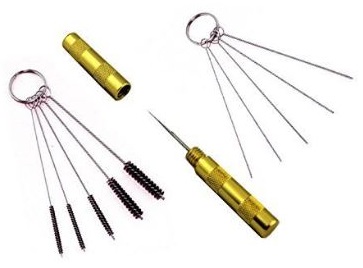
Left: airbrush starter set with different tools.
Right: additional airbrush gun with small pot on the top.
It was really easy to screw it together, I watched a few youtube videos how to do it correct and had no problems with anything. I read, that level 1 would be fine for airbrushing, also the pressure of 0,5-1bar. The compressor started to hum directly until it gets the right pressure, I was terrified when it stops to hum, but I heard before, that this is okay, because the pressure is fine then. Every time the compressor starts to pumps air to keep the right pressure, I make a small jump because it scares me, haha ;-).
On the first try, we only set the right pressure and filled in a bit of water in the small pot of the airbrush gun (I didn´t have any colors then, just ordered). IT WORKS! 😉 Yay! I tried different line thicknesses, as good as possible with only the water in it & then switched it off to wait for the colors. As seen in a video tutorial, I spray out all the remaining air out of the compressor.
I definetly can recommend the airbrush set for the stuff I made until now, it works much better than I thought, if I consider all the horror scenarios told about in the web.
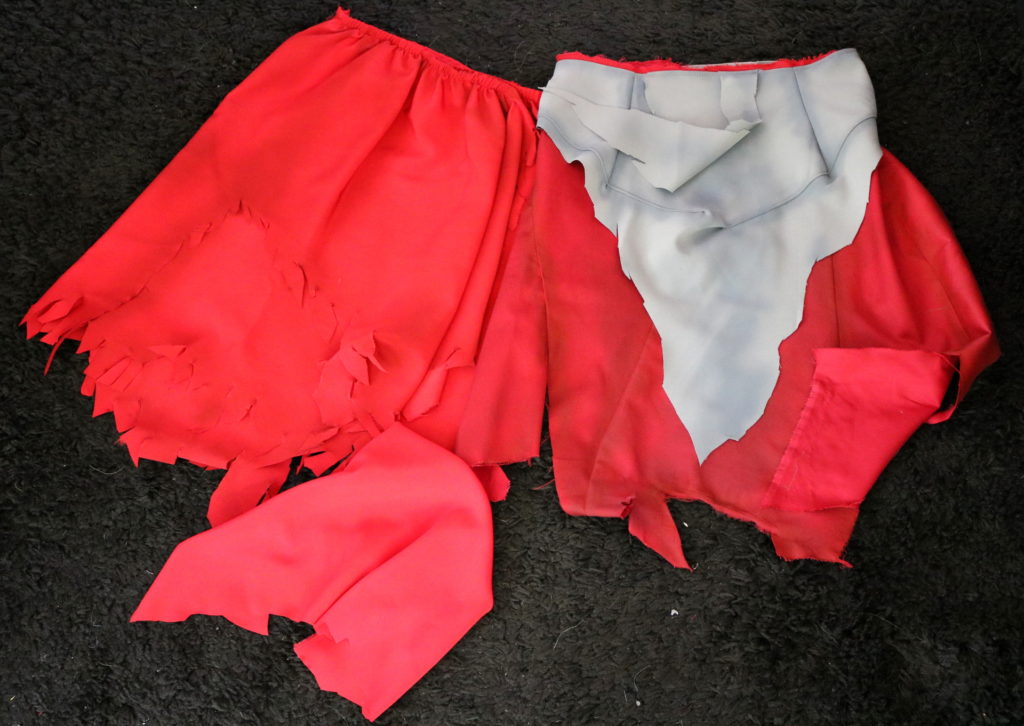
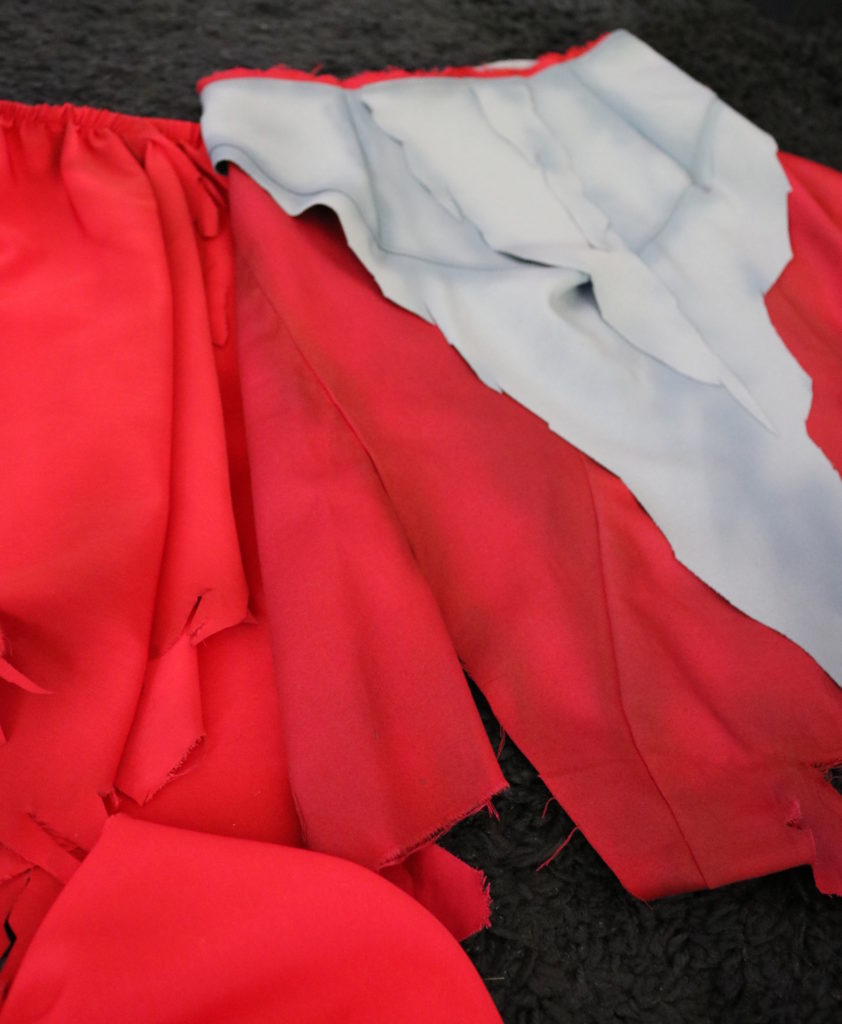
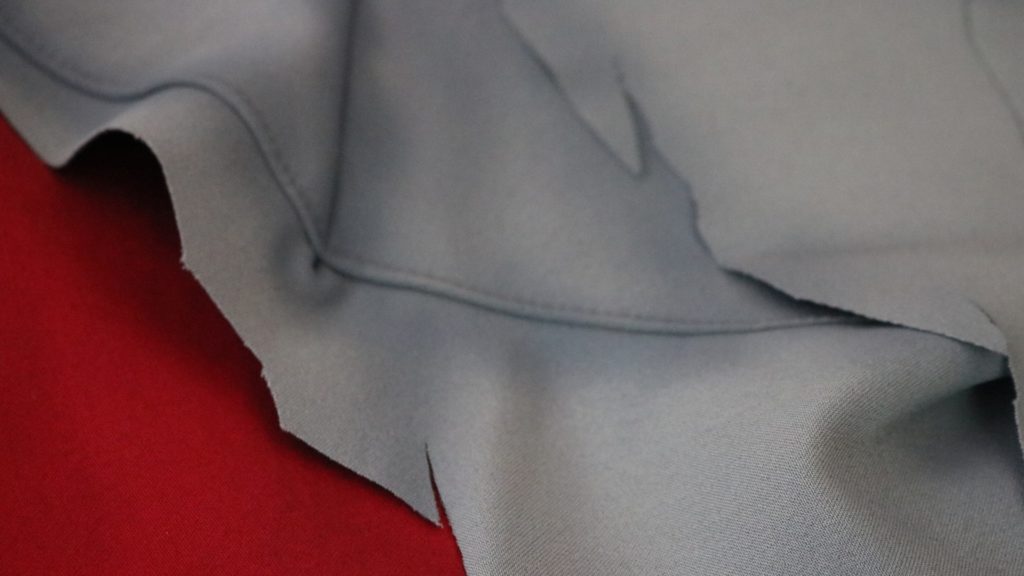
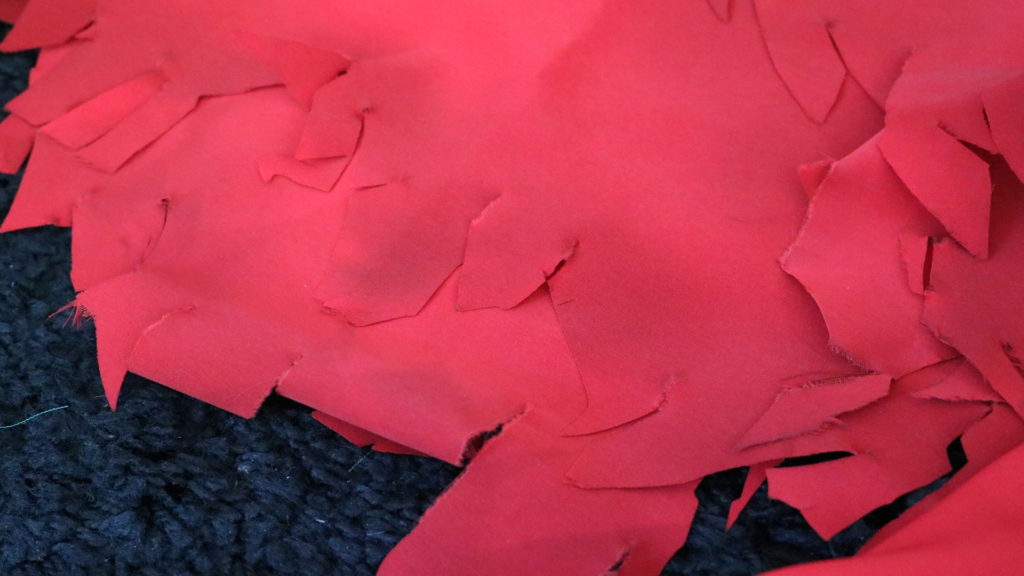
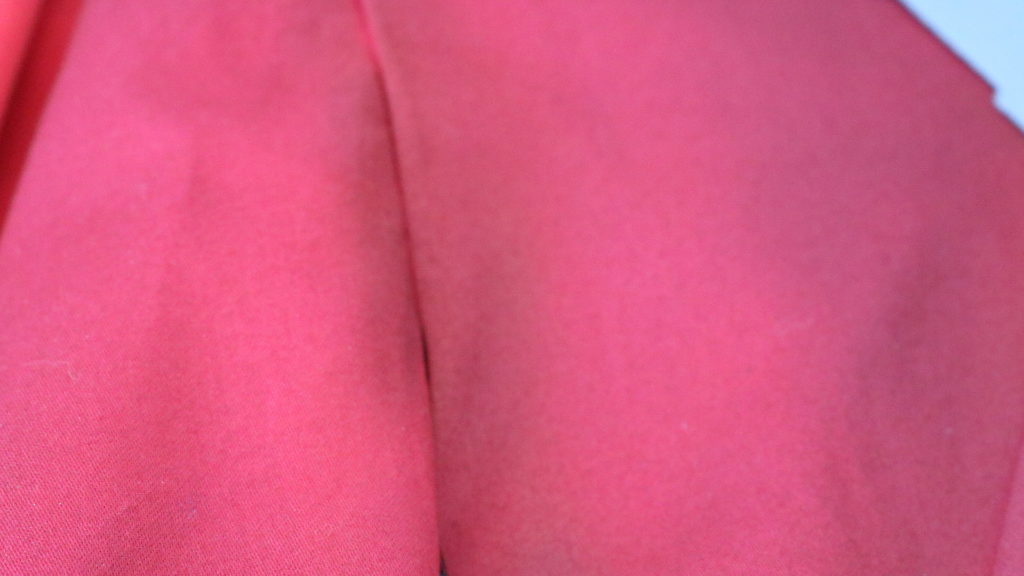
A few days before, I tried to give my Red Sonja skirt-parts a weathering, because the fabric was too light and shiny (and “new”). At Monday I mixed some red and brown Vallejo airbrush colors together for the red fabric, and some olive and dark grey for the grey fabric, thinned both with cheap glass cleaner (lemon scent <3) and sprayed it on the seams, edges, everywhere I thought it would look nice. I mixed everything in a mini can that was included in the airbrush set, but I´m not really convinced by that, it is too small to stir up something without mess everything around and the spout is too tiny to be useful. So now I use small plastic shot cups that I always use for my resin and epoxy stuff. Way better! I´m lucky I have a good feeling for the thinning, but on the first try I was too gingerly and the Color/shading turned out much lighter as I wanted it. But I first saw it, when the color was dry, so the day after I give it a second try.
In case of the high rate of consumption, I checked the web, if it´s possible to use normal acrylic paint for the airbrush when it´s thinned. Yes it´s possible, definitely with reeves colors. I mixed the different colors together again and fill in the glass cleaner. FAIL! Do not use glass cleaner for these colors, it will not work and they will flocculate and will not mix up, because they´re water based (*knock knock* Captain Obvious!). Normal water is fine for that, but stir and shake the mix very well. When you fill in the color in the gun pot, take care that no bigger particles run in it (I tried it very hard, but can´t avoid thicker residues on the cup ground).
Here´s the result of that weathering session:

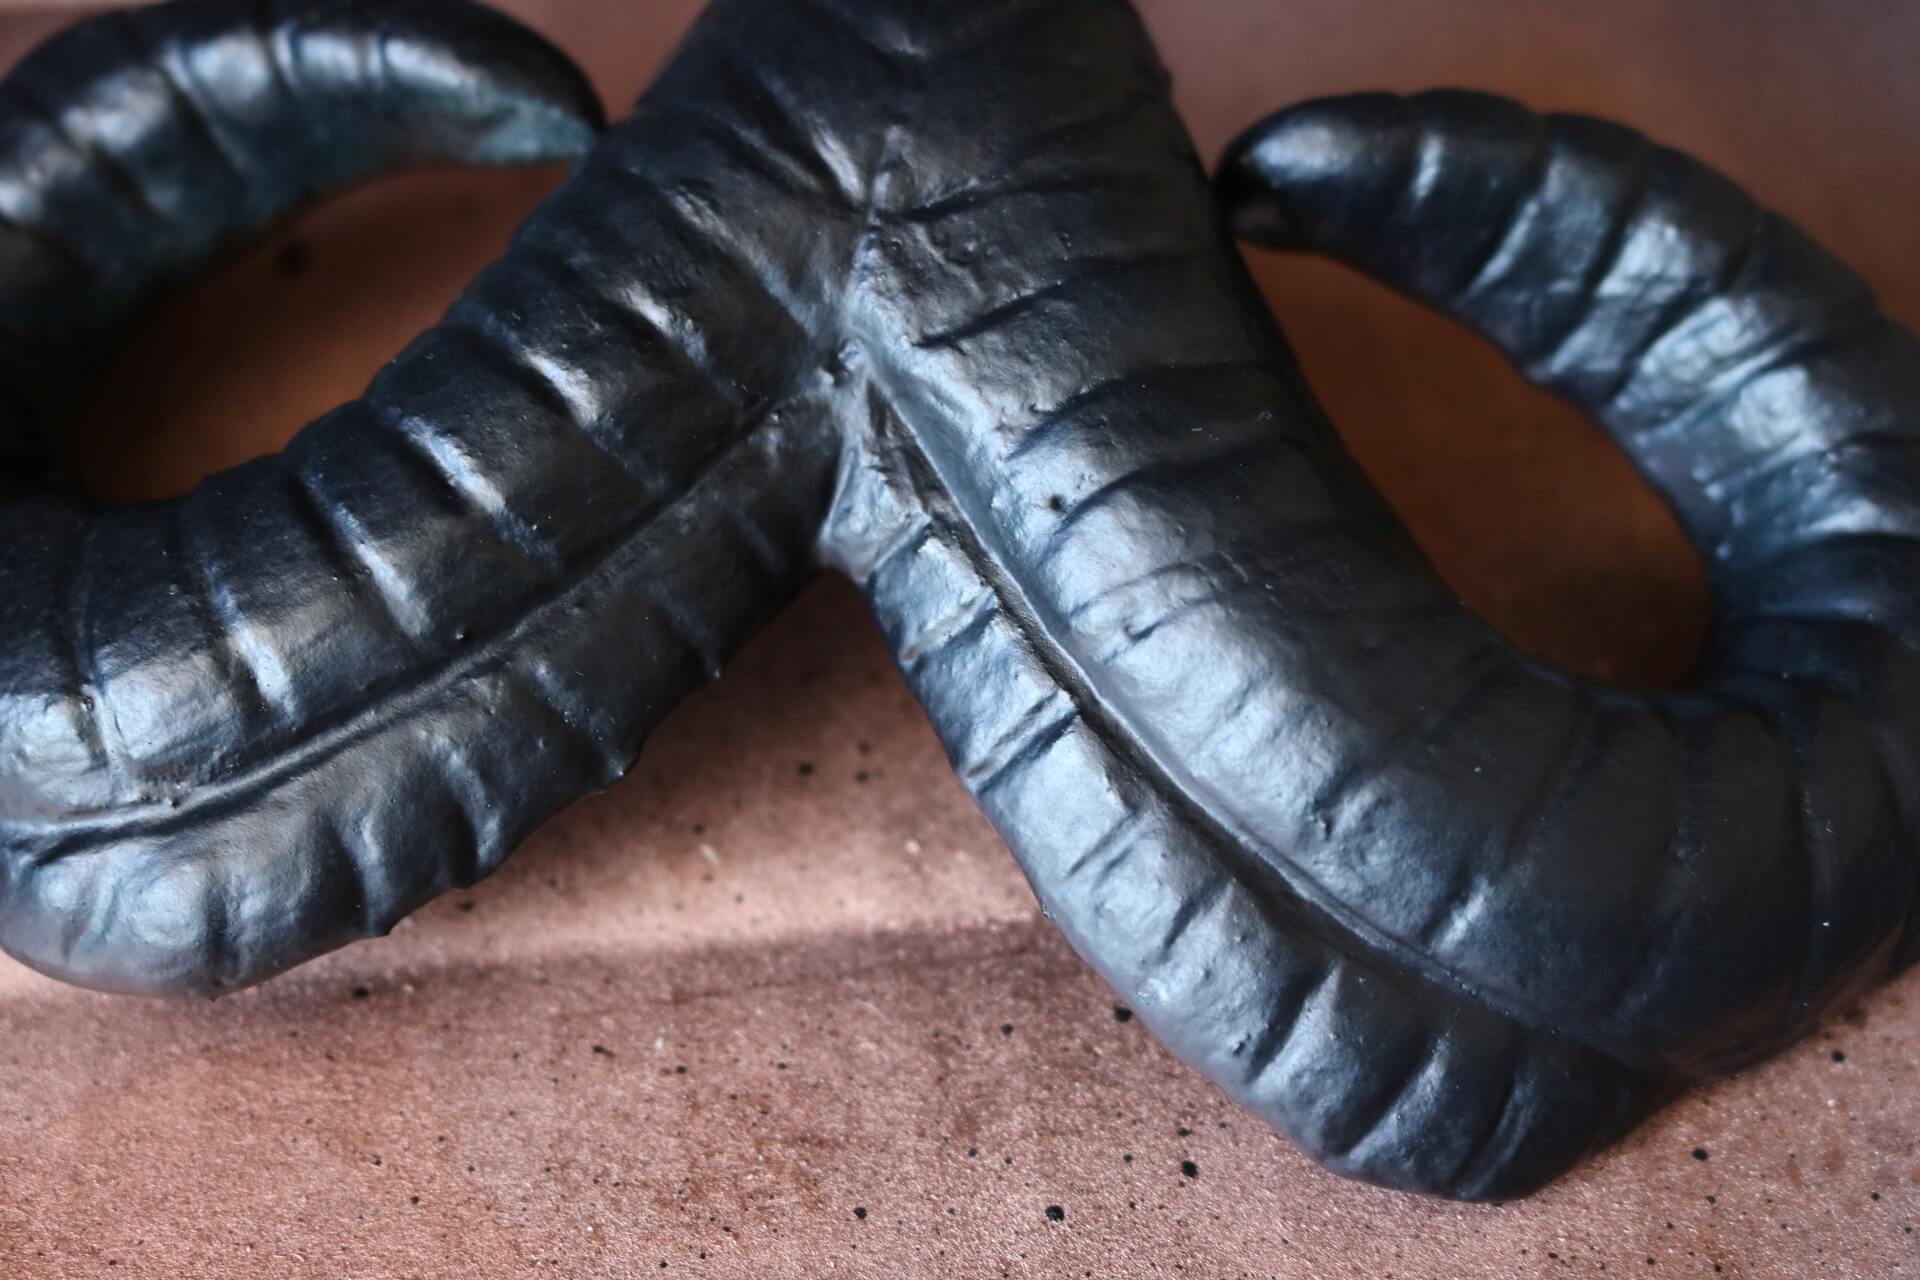
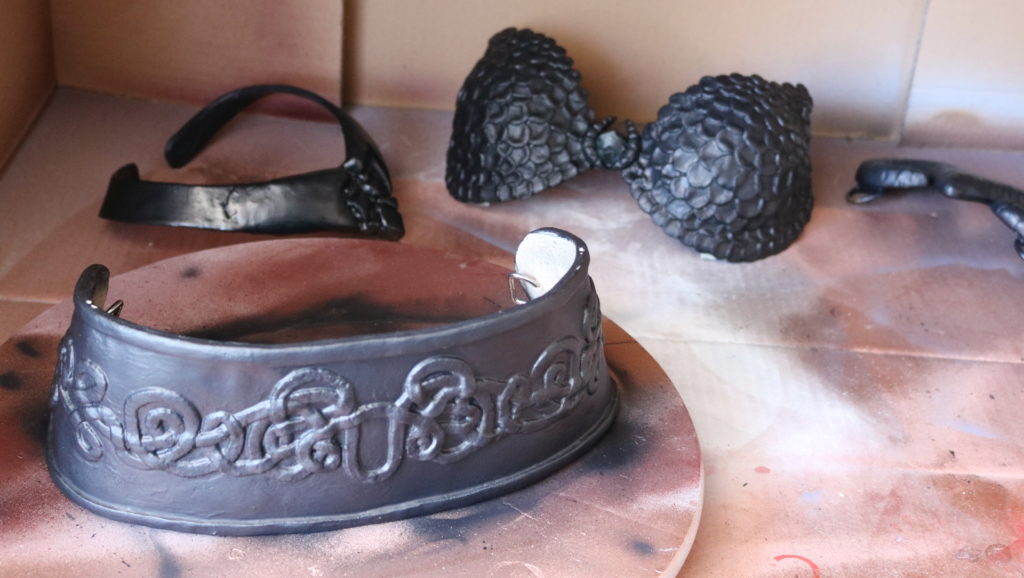
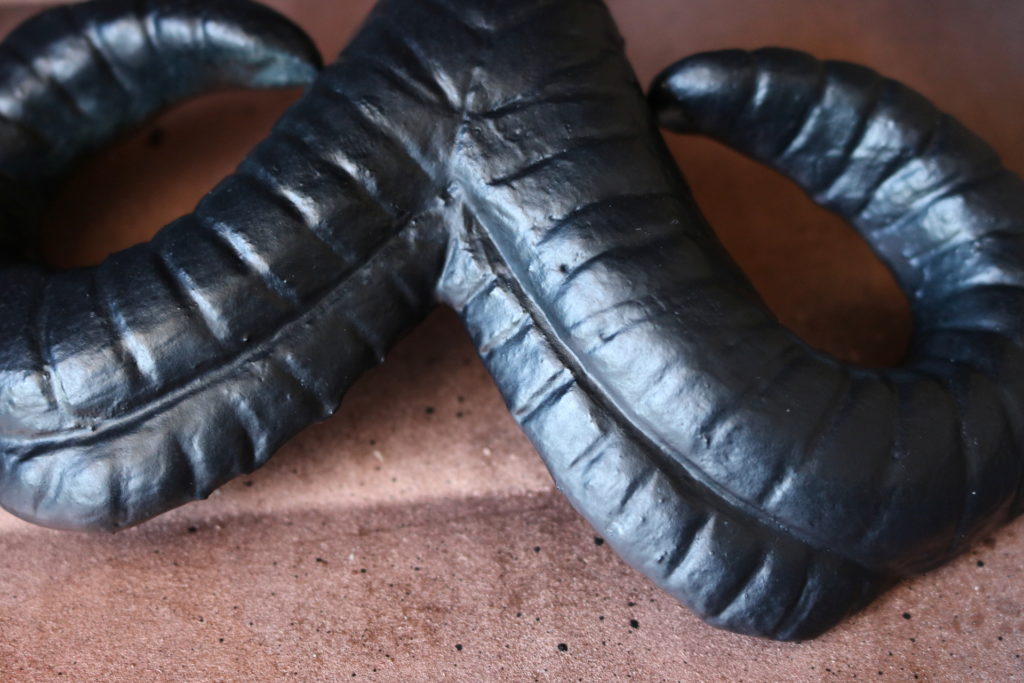
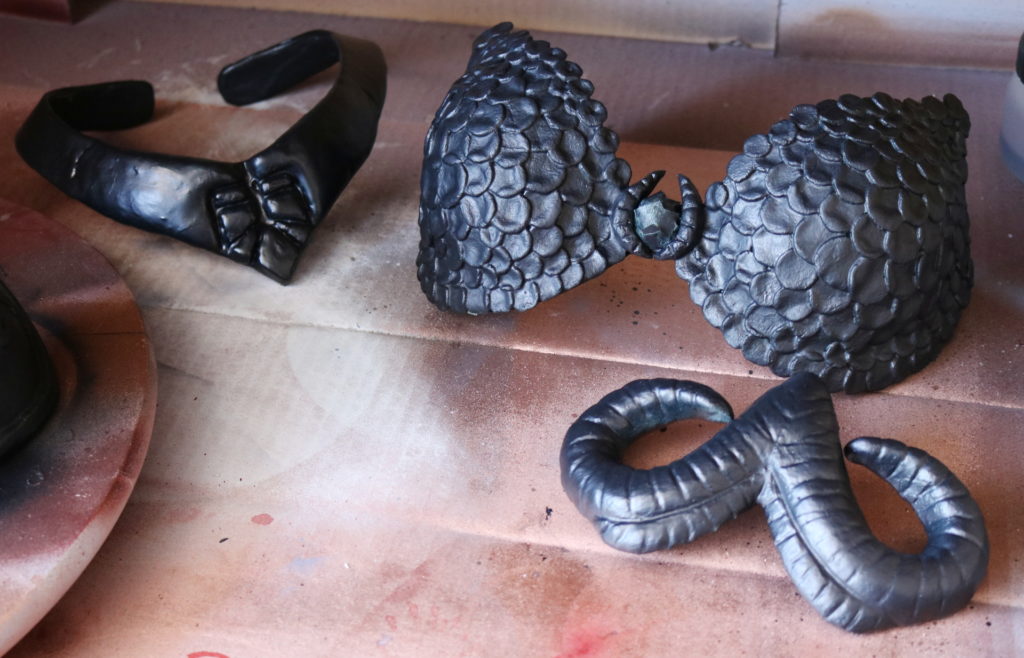
A few days after that, I had another challenge: spraying the black base color on my armor parts. Bigger areas, higher pigmentation. Before I started, I ordered a cleaning pot and some cleaning tools on amazon to simplify the cleaning.

I think it works very well though, but the color dries after a while in the tip of the airbrush gun (maybe in case of the less thinning), so I had to clean it after one third of the armor parts.
All in all I like it, it´s much easier to paint something without brush strokes and every tiny gap is filled with color, BUT it is much work to clean the gun, even with 99% ethanol, that´s a bit annoying.
Conclusion: I definetly can recommend the airbrush set for the stuff I made until now, it works much better than I thought, if I consider all the horror scenarios told about in the web :-).
I will keep you up to date, if there are any new tests!
PS: If you want so see more progress photos, check out my Facebook or Instagram accounts :-)!
No Comments