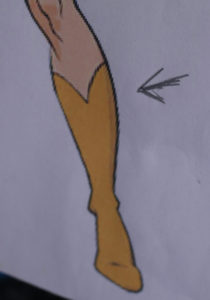
First of all, I searched for references. I wanted to stay as close as possible to the original She-Ra boot design as it was in my childhood, so I used this one:

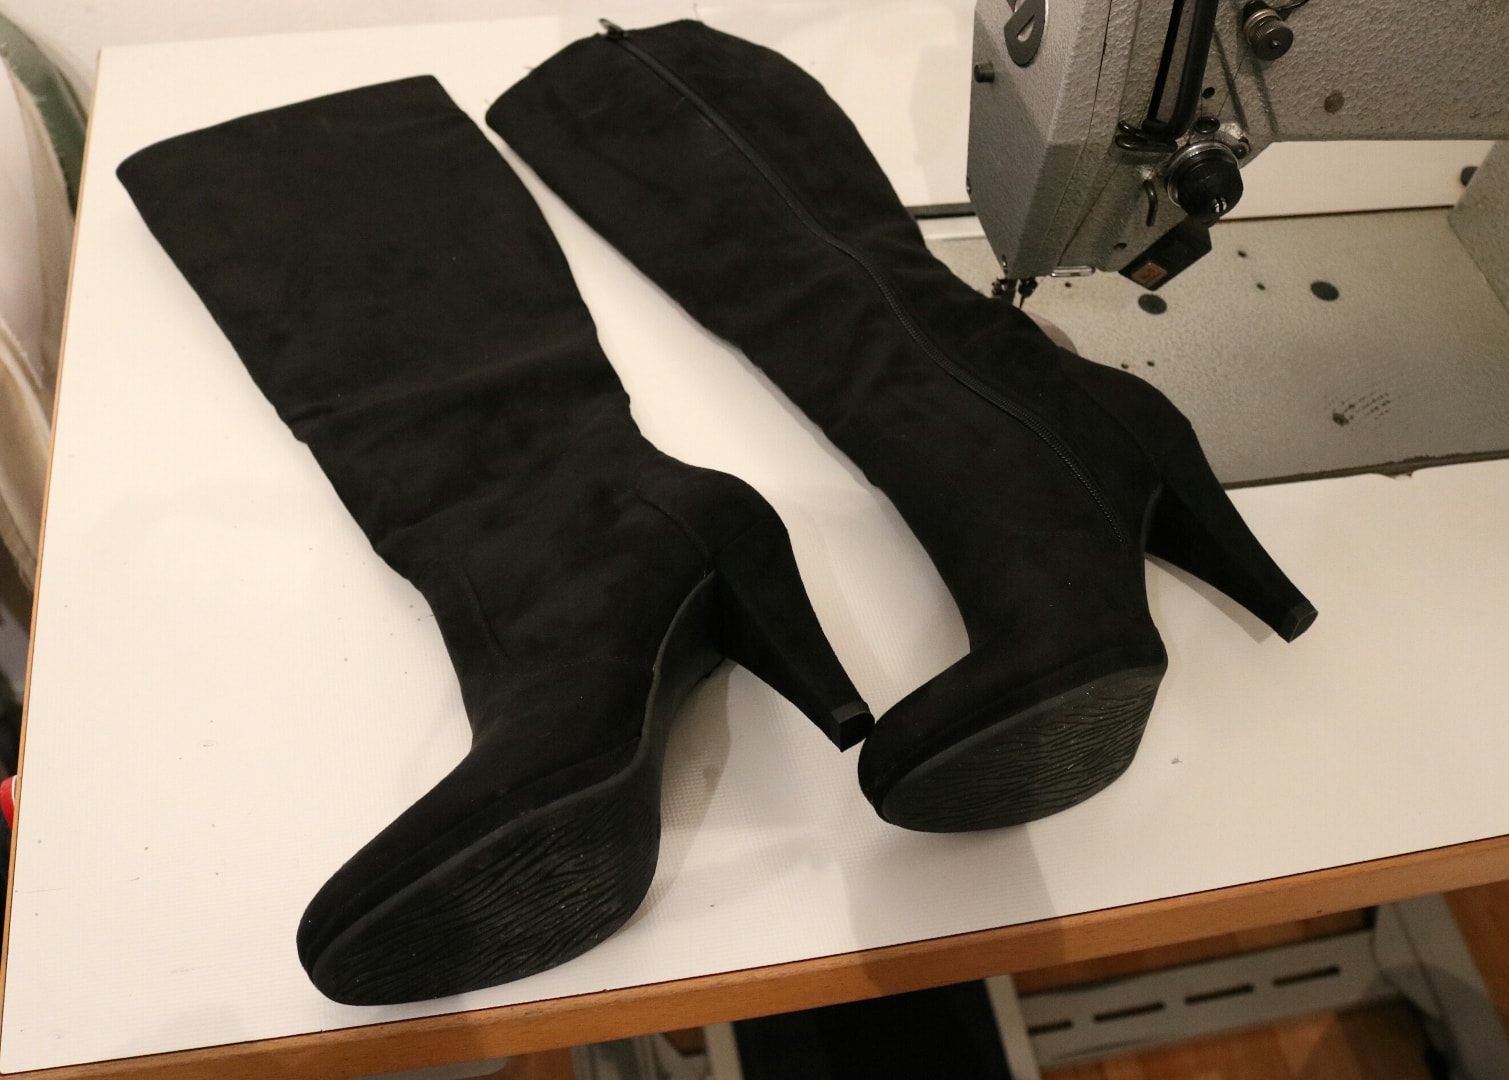
Now comes the main question, made a worbla boot myself or easily bought some ready boots? Well, in case of the clean design and for the better comfort (worbla is not very flexible and heavy and my experience with my Hermes boot sandal show me, that the handling is a bit difficult for something like that – more infos about my Hermes HERE), and because I wanted to try something new, I decide to buy some boots. Deichmann is a good choice to find cheap ones, so I check out the styles online and try them on in my hometown store.
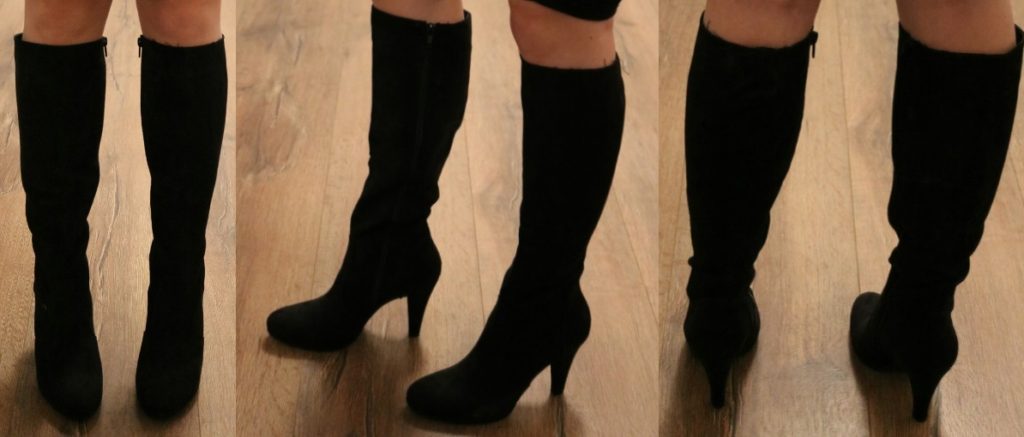
In the store, I tried on some different styles to see which one has the best fit and check the possibilites to make some changes on them (like seams and position on zipper,…). At the choosed style, the upper edge and c.b. are closed with a seam, perfect if you want to improve the shape. For me, the bootleg was a bit too wide. Moreover this one was closest tot he original design. The surface looks a little bit like suede, the zipper is at the inside of the leg and at the inner upper edge are some elastic ribbons.

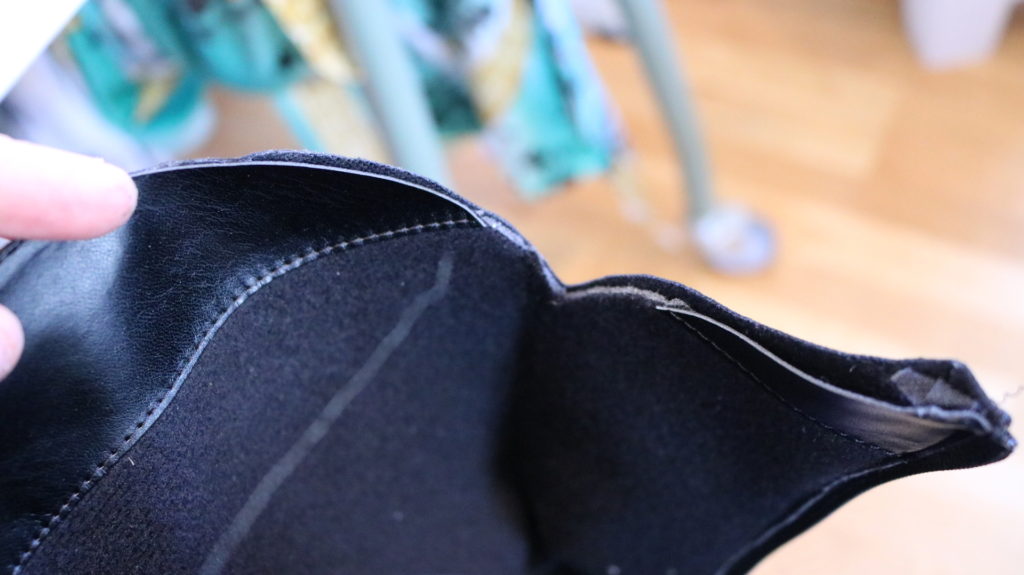
After that, I open up the seam of the upper edge and separate the inner from the outer fabric. The layers were glued together with contact glue. Also the seam allowances were glued down with the contact glue and had to be dissolved, because I wanted to change the width of the boot leg on this seam.
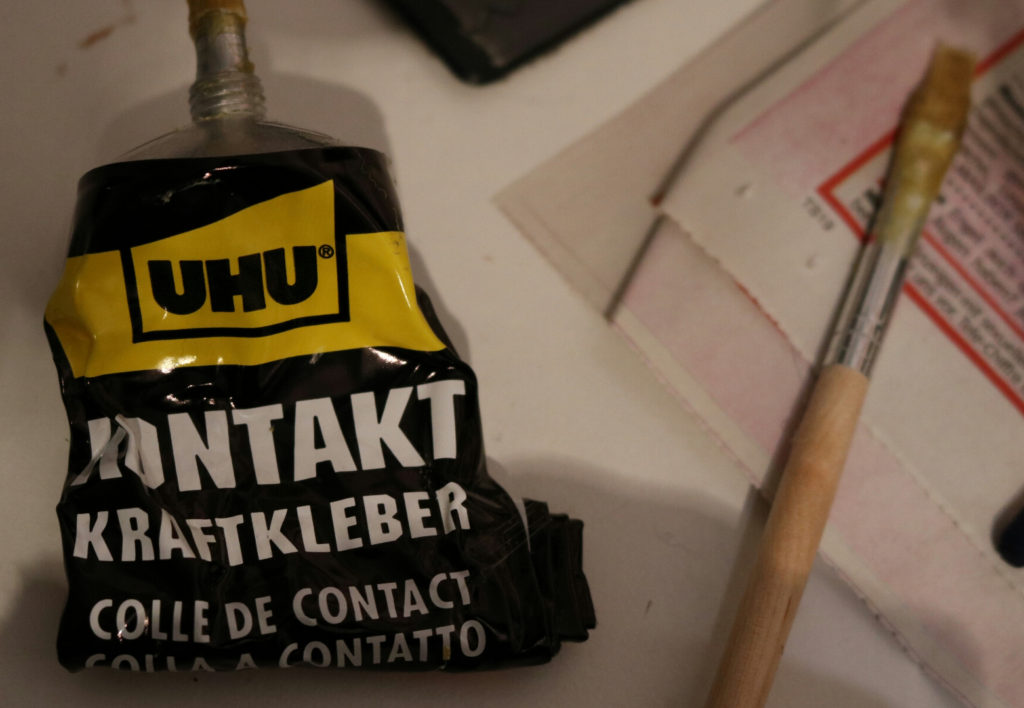
Now I pinned some needles (and use a chalk marker) how tight I want the boots and sew the boot leg a few millimeters tighter with my industrial sewing machine (needle size 90), cut down the seam allowances as short as they were before and glue them down with contact glue. I used the jellylike glue of Uhu, which worked well and can be bought mostly every local building store. Meanwhile I would use the glue of cosplayshop.be , which is much easier to handle. Pls try on your boots before gluing and check the fitting, maybe you have to make some adjustments. Pls note that it is not possible to reduce a huge amount of width, the transition would look nasty at the heel area. Although take care that you leave some width for a comfortable movement for a long convention day (your feet and legs will swell) and maybe there´s a hard frame at the back that will not let you sew very close tot he heel area.

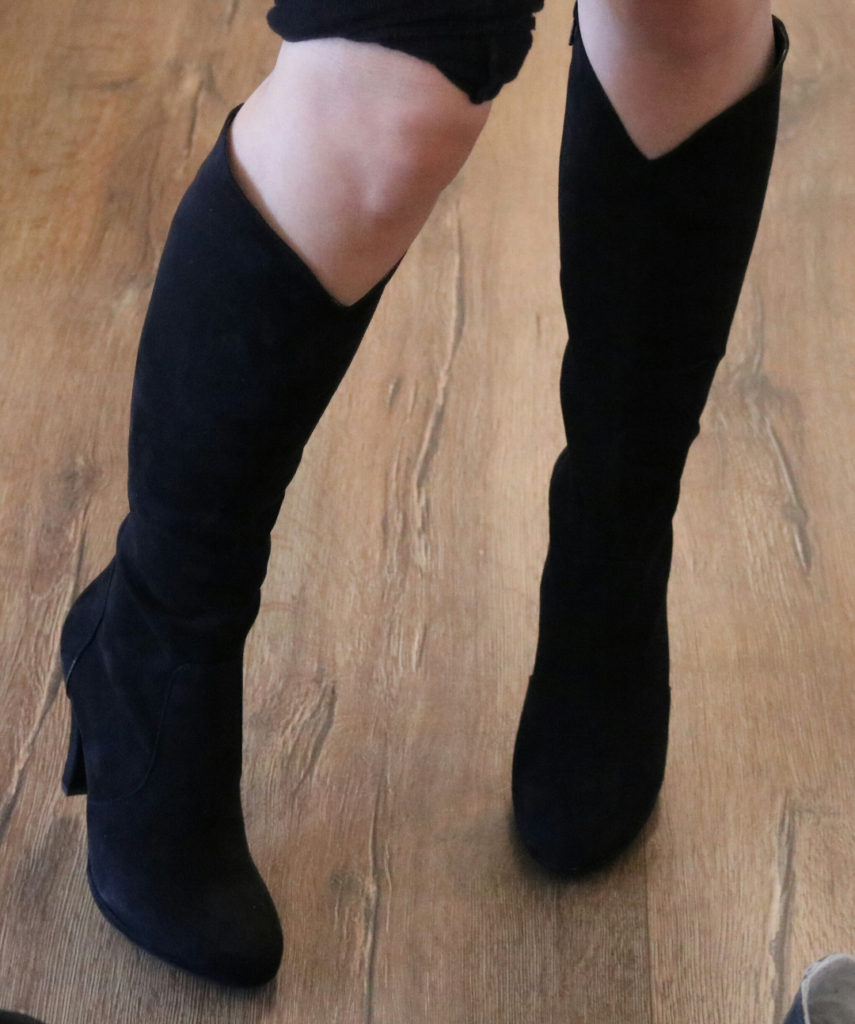
Now I had to make the tip cut out at front. The upper edge is already opened a bit and had only to be opened a little bit more to cut out the shape. I tried on the boots plenty of times to check the fitting and optic compared to my reference picture. First of all, I draw the tip at front on with my chalk pen and cut it out +5mm seam allowance. After that, I glued down the new edge (as it has been before on the original edge). Repeat that steps on the inside lining at the upper facing.
Now the upper edges of outer and inner fabric has to be sewn together. Let the new sewing line run into the old one.


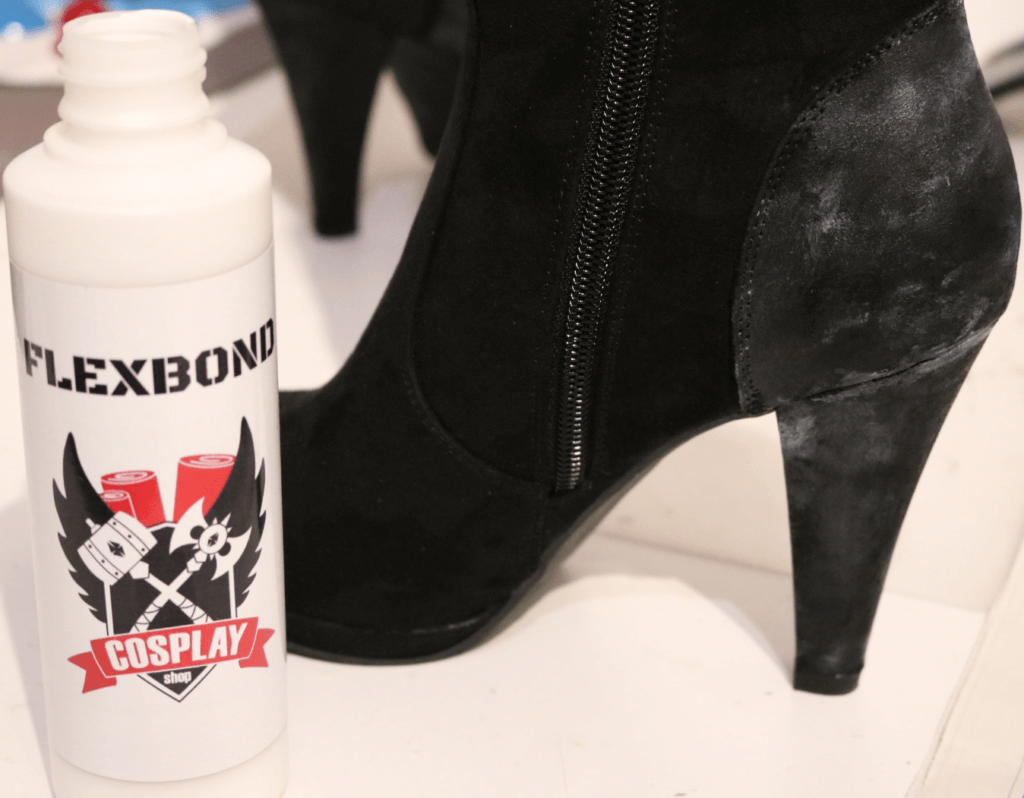

Color! We need it! Now! 🙂 I asked myself which color I want to try to give it that shiny look. Remember, the surface had a suede look and I decided to use gold wax, so I had to smoothen the surface before I use the wax. If I had a smooth surface as base, I would have used the plastic or universal primer of Montana (you only have to spray on a very thin layer to give the color much more adhesion). I´m luckily saw a shared post of cast4art on facebook (I´m sorry I don´t remember the name of the cosplayer who did this :-(), where a cosplayer used Flexbond for her shoes. So I ordered it at cosplayshop.be (click here) for ca. 0,3l I paid 10€. That sounds a bit expensive in the beginning, but it´s worth all the money and very fertile. I uses app. ¼ of my bottle form y whole boots, even though I brushed some parts two or more times to make it as smooth as I want it. I tested the flexbond on the cut out piece before I use is for the boots and it is endlessly flexible! I rolled and fold it a few times like I´m crazy, but nothing bad happens, even not with gold wax on it!
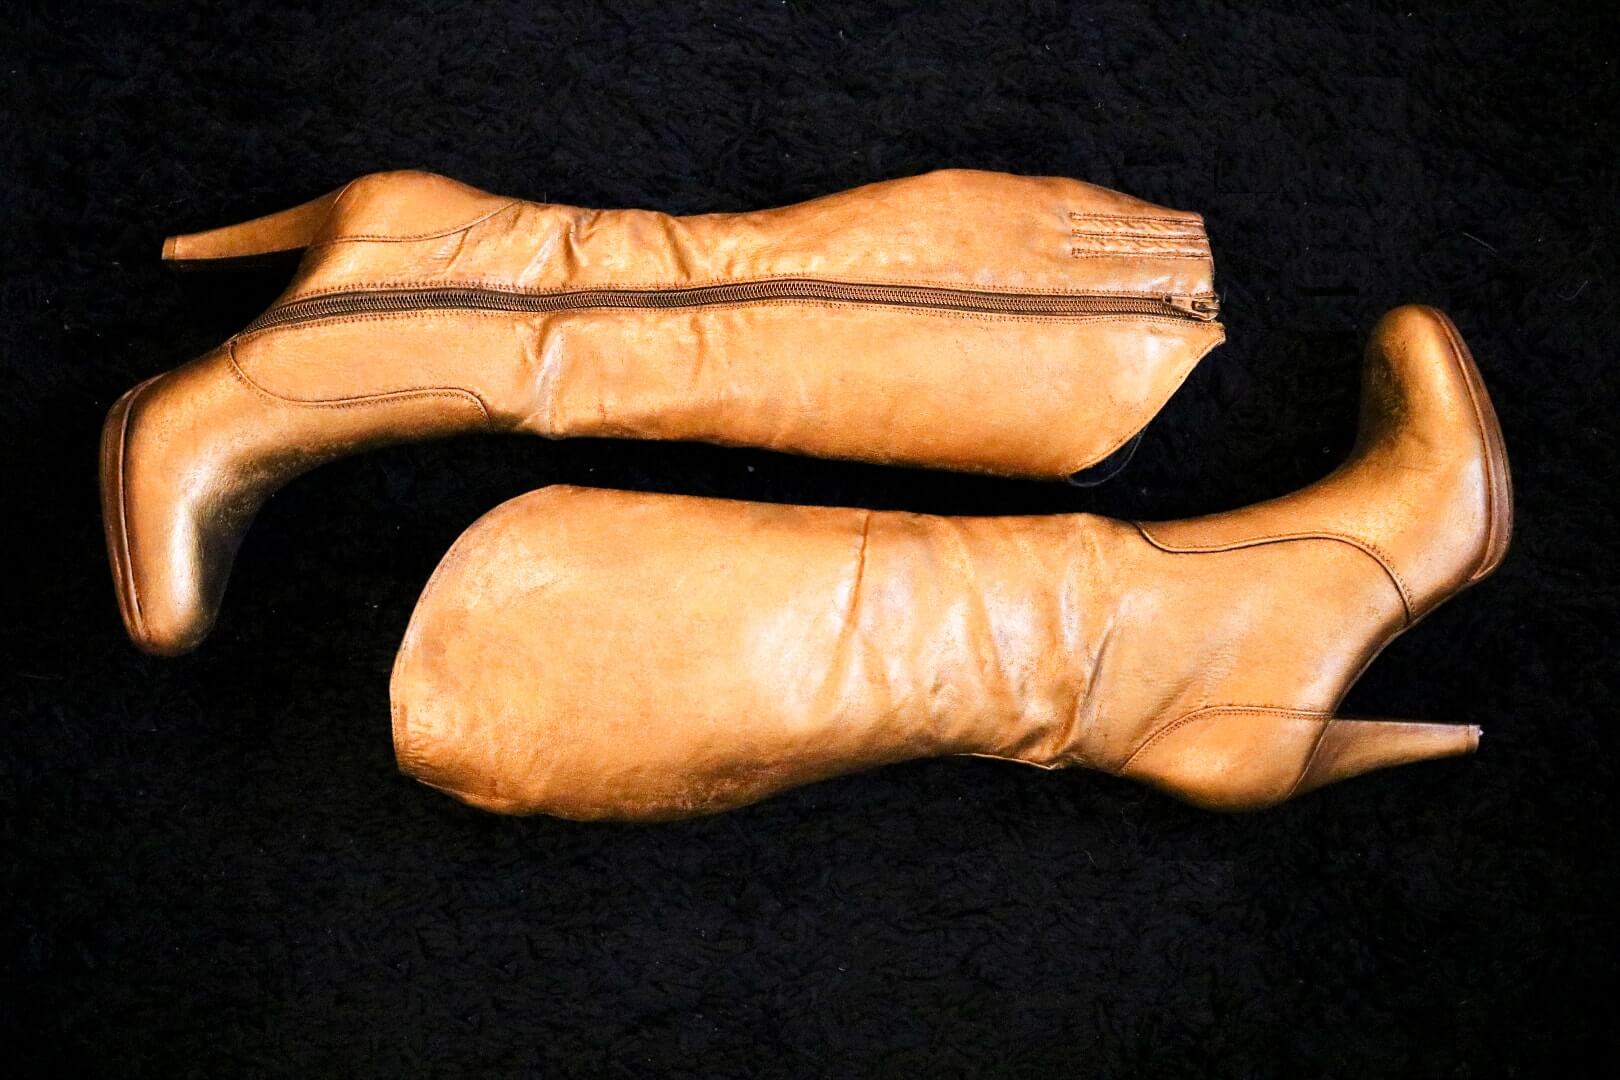
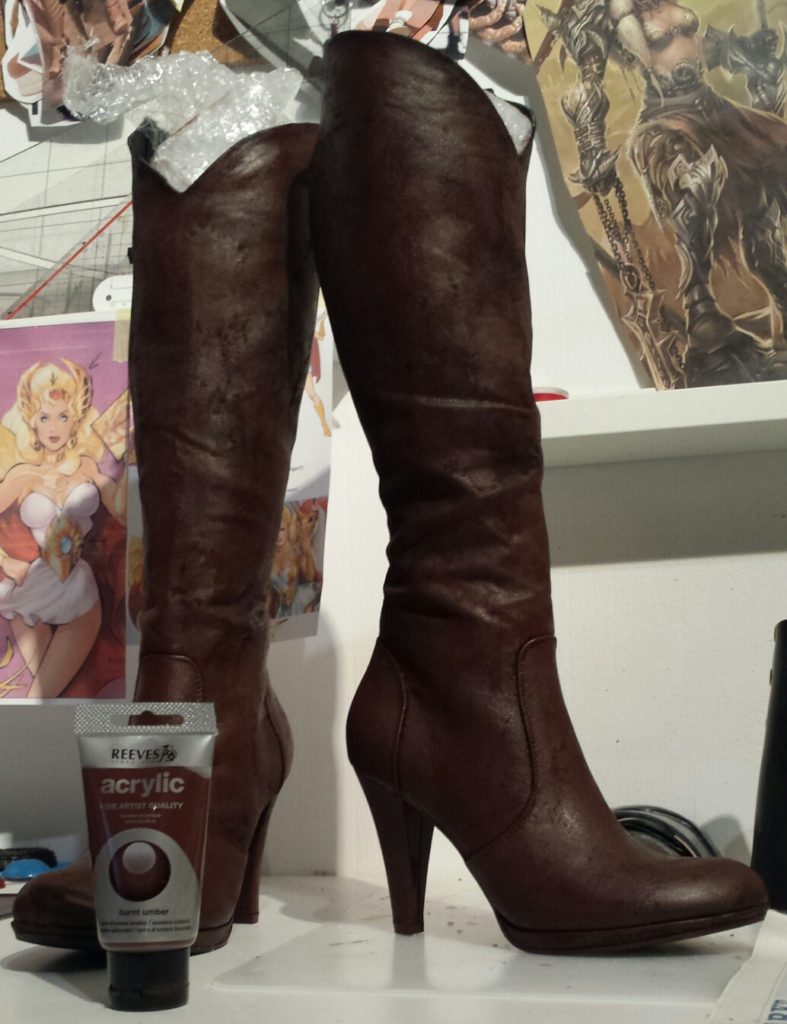
I let the boots dry one night and was exited that I could start with the painting! I decided to use the gold wax from pebeo in col. Renaissance gold, which I bought at myCostumes (click here for goldwax) and add a layer of Reeves Acryl paint in dark Brown for the colour base. It was the first time I used gold wax and cause I know that ErzaCosplay used this a lot, I watched her videos on youtube fort he correct handling. It is really supereasy, if you find the right brush. In the end I used a soft round brush I cut of the tip before and brush on the wax with strokes and dabs. Pls note that the brush should be dry, that works much better than a wet brush! Gold wax really stinks, so work in a room with an open window or with a ABEK mask, my eyes were tearing in the beginning ;-).
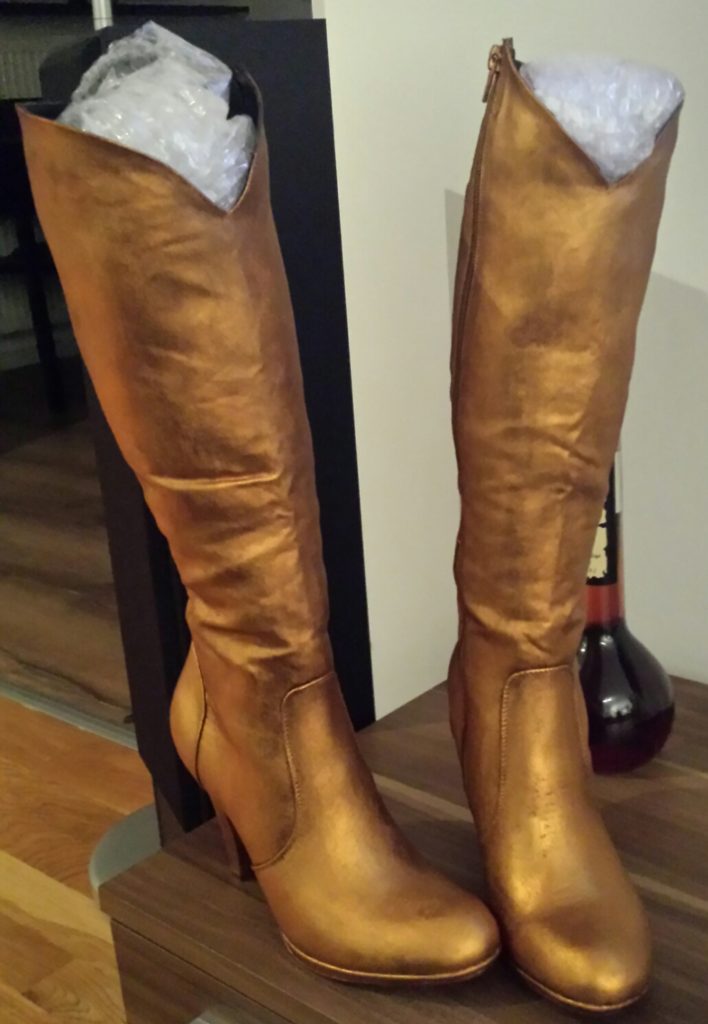
I put on as much wax as I need for an equal shiny look. I read before, that the gold wax is allegedly fertile, but I´m the type that has to find out herself ;-). After using the gold wax really lavish on all of my cosplay (not only the boots, all gold parts!) I only needed less than the half of the pot. Therefore the prize is really justified for me. After letting the wax dry a night, I add some shading at the next day, a mix of gold wax and reeves acrylic paint in dark brown. Last but not least I add a layer of shiny coat with a soft big brush and BANG, the boots were finished and soooo beautiful!
I hope I could help you a little bit with this tutorial and feel free to ask questions!
Stay GOLD, by the honor of grayskull!!
SHE-RA BOOTS
Zu allererst habe ich natürlich nach Referenzbildern gesucht. Ich wollte mich so nah wie möglich an das Original aus meiner Kindheit halten und habe daher diese einfache Skizze als Vorlage genommen.
Nun die Frage, selber umständlich bauen aus Worbla, oder einen fertigen Stiefel hernehmen? Aufgrund des recht einfachen Designs und der Bequemlichkeit (Worbla ist ja doch recht unflexibel und schwer und die Erfahrung an meinen Hermes Riemchenstiefeln hat gezeigt, dass das Handling recht kompliziert war – weiter Infos dazu hier) und weil ich etwas Neues ausprobieren wollte, habe ich mich dafür entschieden einen günstigen Stiefel zu kaufen.
Deichmann bietet sich dafür aufgrund der Preise immer an, also habe ich online schon vorab geschaut, welche Modelle in Frage kämen, und um die Suche im Laden zu beschleunigen.
Im Laden habe ich dann diese und einige andere Modelle auf die Bequemlichkeit und die Möglichkeit diese noch abzuändern geprüft. Bei meinem ausgewählten Modell sind die obere Kante und hintere Mitte mit einer Naht geschlossen, perfekt, wenn man noch ein bisschen was an der Form ändern möchte, mir war der Schaft minimal zu weit. Außerdem ist die äußere Form der Vorgabe am ähnlichsten gewesen. Die Oberfläche hatte eine Veloursoptik, am Innenbein ist ein Reißverschluss und an der inneren oberen Kante sind Gummis zwischengefasst.
Anschließend habe ich die Naht an der oberen Kante aufgetrennt und das äußere Material von dem Inneren vorsichtig getrennt. Diese waren nämlich mit Kontaktkleber verklebt. Außerdem waren die Nahtzugaben der hinteren Mitte-Naht verklebt und mussten vorsichtig gelöst werden, um hier ausgehend von der alten Stepplinie nähen zu können.
Nun habe ich die Stiefel ein paar Millimeter mit meinem Schnellnäher abgenäht (90er Nadel), die Nahtzugaben wie bei der alten Naht beigeschnitten und mit Kontaktkleber neu verklebt. Ich habe den Kontaktkleber von Uhu in gelform benutzt, hat ganz gut funktioniert und gibt´s in jedem Baumarkt. Ich würde aber mittlerweile den von Cosplayshop.be (klick hier) benutzen, welchen ich viel einfacher zu händeln finde. Bitte die Stiefel vorher anziehen und ggf. wenn möglich Nadeln stecken oder mit einem Stift markieren, wie viel Weite ihr wegnehmen wollt und bis wo ihr realistisch überhaupt abnähen könnt. Man kann nicht unbegrenzt Weite wegnehmen, da man sich noch bewegen können muss, die Füße und Beine an einem langen Contag ggf. anschwellen und im Bereich der Ferse ein festes „Gestell“ verbaut sein kann in den Schuhen.
Nun geht es an den spitzen Ausschnitt vorne. Die obere Kante ist ja schon offen, muss aber auch nur so weit aufgetrennt werden, wie es nötig ist, um die HM abzunähen und die Kante vorne zu modifizieren, wir müssen es uns ja nicht unnötig schwer machen :-). Ich habe die Stiefel immer wieder zwischendurch angezogen und im Vergleich zum Original im Spiegel angeschaut, um die Passform und Optik zu kontrollieren. Zuerst habe ich die Form vorne mit Kreide aufgezeichnet und dann + 5mm Nahtzugabe ausgeschnitten. Anschließend die Kante umgeschlagen und mit Kontaktkleber zusammengeklebt (so wie es ursprünglich bei der Originalkante war). Das gleiche macht man bei dem Innenfutter am Beleg oben.
Nun muss die obere Kante neu versteppt werden, Außenstiefel und Innenfutter, einlaufend in die alte Stepptour.
Jetzt geht es ans Eingemachte, die Farbe! Wie bekomme ich die Stiefel so edel hin? Ich habe hin und her überlegt, womit ich die Oberfläche vorbereiten soll, um später mein Goldwachs auftragen zu können. Bei einer glatten Oberfläche würde ich den Kunststoffprimer von Montana empfehlen. Dieser muss nur dünn aufgetragen werden und erhöht die Haftung der Farbe enorm. Aber auf meinen Stiefeln hatte ich ja einen weichen Veloursflor welcher geglättet werden, aber trotzdem flexibel bleiben sollte. Ich habe dann per Zufall einen von Cast4Art geteilten Beitrag gesehen, wo eine Cosplayerin (sorry, mit fällt der Name nicht mehr ein :-() ihre Schuhe mit Flexbond behandelt hatte. Ich habe mir dann eine Flasche Flexbond bei Cosplayshop.be bestellt. 10€ für ca. 0,3l wirkte erst mal viel, aber das Zeug ist super ergiebig :-). Ich habe mit ca. ¼ des Flascheninhalts meine kompletten Stiefel eingepinselt, über manche Stellen habe ich mehrfach gepinselt, oder nachgebessert, damit die Oberfläche schön glatt ist. Flexbond trocknet schnell, bildet eine ebenmäßige glatte Oberfläche wenn man genug aufträgt und ist unendlich flexibel. Ich hab´s vorher an dem kleinen raus geschnittenen Teil von den Stiefeln ausprobiert und dieses geknickt und gerollt und gezogen wie verrückt und nichts ist passiert, auch nicht mit Farbe drauf.
Die Stiefel standen dann zum Durchtrocknen ca. eine Nacht. Endlich konnte ich die Farbe auftragen! Entschieden habe ich mich für Goldwachs von Pebeo in Farbe Renaissance Gold, welchen ich bei myCostumes (klick hier) erstanden habe. Als Basisfarbe habe ich vorher Acrylfarbe von Reeves in dunkelbraun aufgetragen. Da es das erste Mal war, das ich Goldwachs benutzt habe, habe ich mir fleißig ein paar Videos von ErzaCosplay angeschaut, die ja viel mit Goldwachs arbeitet. Es ist wirklich super einfach, wenn man erst mal den richtigen Pinsel hat. Am Ende war es dann ein runder weicher Pinsel, bei dem ich die Spitze vorne abgeschnitten habe und damit die Farbe trocken (WICHTIG! Dann funktioniert es besser!) aufgebracht habe mit tupfen und kurzen Strichen. Goldwachs stinkt ziemlich, also den Raum gut lüften und sogar am besten eine ABEK-Maske tragen, mir haben die Augen schon etwas getränt am Anfang ;-).
Ich habe dann so viel Farbe aufgetragen, bis es mir gefallen hat und eine ebenmäßige Oberfläche entstanden ist. Ich hatte zwar gelesen, dass das Goldwachs dieser Marke ergiebig ist, aber man bekommt ja immer erst eine Vorstellung davon, wenn man die Sachen ausprobiert. Ich bin schon recht verschwenderisch damit umgegangen und habe für mein komplettes Kostüm (komplett, nicht nur die Stiefel!!!) weniger als die Hälfte verbraucht. Damit ist für mich der Preis absolut gerechtfertigt. Die Farbe habe ich auch eine Nacht durchtrocknen lassen (sicher ist sicher! ) und am nächsten Tag noch ein paar Schatten aufgebracht, mit einer Mischung aus Goldwachs und Reeves Acrylfarbe in dunkelbraun. Nach dem Trocknen dann noch eine dünne Schicht Klarlack aufgetragen, mit wenig Druck, um das Wachs nicht ausversehen abzulösen, und BÄM, waren die Stiefel fertig und wunderschön!
Ich hoffe, dass ich euch etwas helfen konnte und Anregungen geschaffen habe. Wenn ihr Fragen zu diesem Vorgang habt, könnt ihr mir gerne schreiben!
Stay GOLD, by the honor of grayskull!!
No Comments